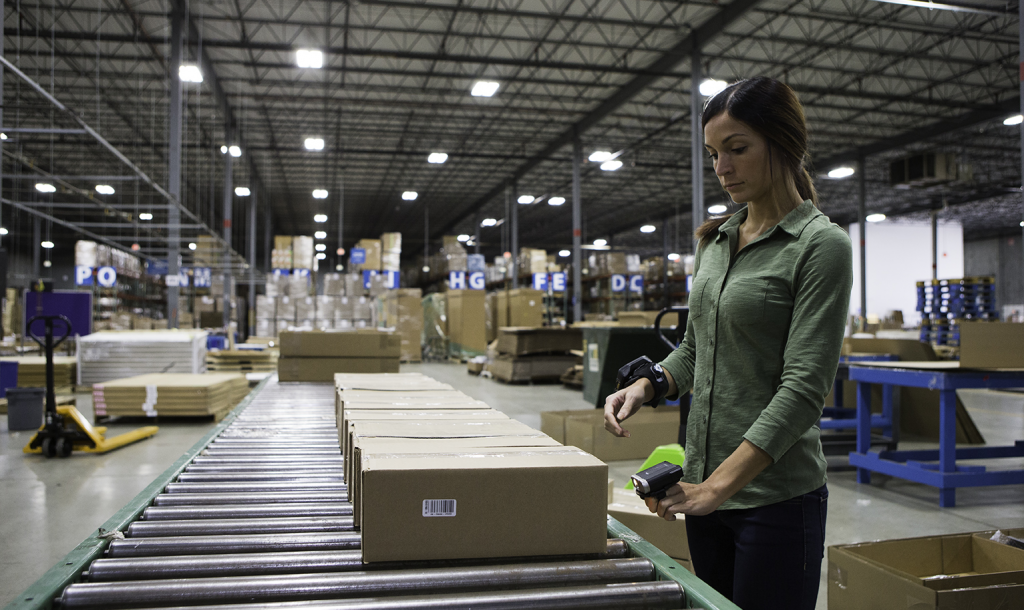
While receiving products from a vendor to a warehouse, it is often necessary to put the products directly in the related locations. Unfortunately, the majority of ERP and WMS systems doesn’t allow to do it quickly and simply.
In this article, we will put a few products away directly during receiving. We will work with Odoo ERP and the Android mobile app Ventor, which connects barcode scanners to the ERP system.
Putting items away in a warehouse with Ventor
The standard workflow for receiving products in a WMS system consists of 2 steps. Firstly, we receive the items from suppliers and move them to some area or room in the warehouse. Then, we move each item from the input zone to a related location.
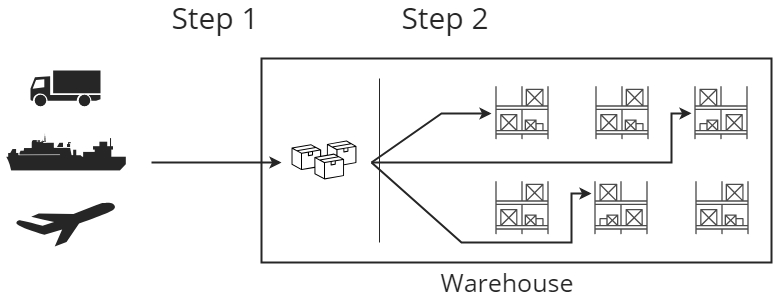
But in some cases, it is more useful to move products to needed locations directly in the first step.
Also, a warehouse worker will often bring an item to the related location to find that the location is already filled. So the worker puts the item in another location and he needs to track this in the WMS.
In the Ventor app, there is a function that allows changing destination location. It works not only during receiving or internal transfers but for all warehouse operations. Let’s see how it works as we put items away in your warehouse using Ventor.
Prerequisites
Products are received in the system based on a purchase order. We created a purchase order for 4 products from the vendor “ASUSTeK”.
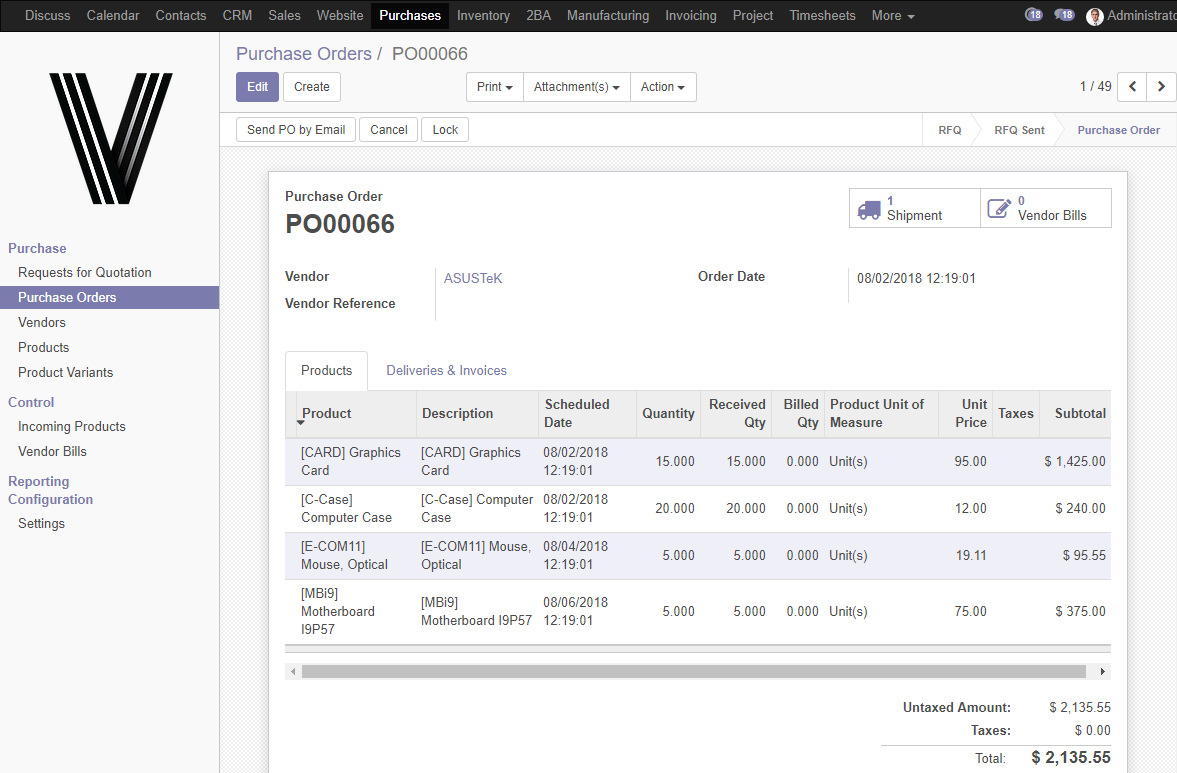
Let’s pretend that a truck from the vendor has just arrived at our warehouse.
User case
1. The user takes a scanner (or a mobile phone or a mobile phone connected with a barcode reader) and goes to a zone where products need to be received. He opens the Ventor app, logs into the system and goes to “Warehouse operations” > “Receipts”;


2. Then he opens the needed purchase order (which can be found in a list of all PO by scanning PO barcode) and clicks “Start transfer”;


3. Moving all items to default location
Now the app asks to scan a product. The user scans a barcode of any product from the PO.
Note, in case of using a laser barcode scanner it simply needs to click on the built-in hardware button to activate the laser scanner and scan the item.


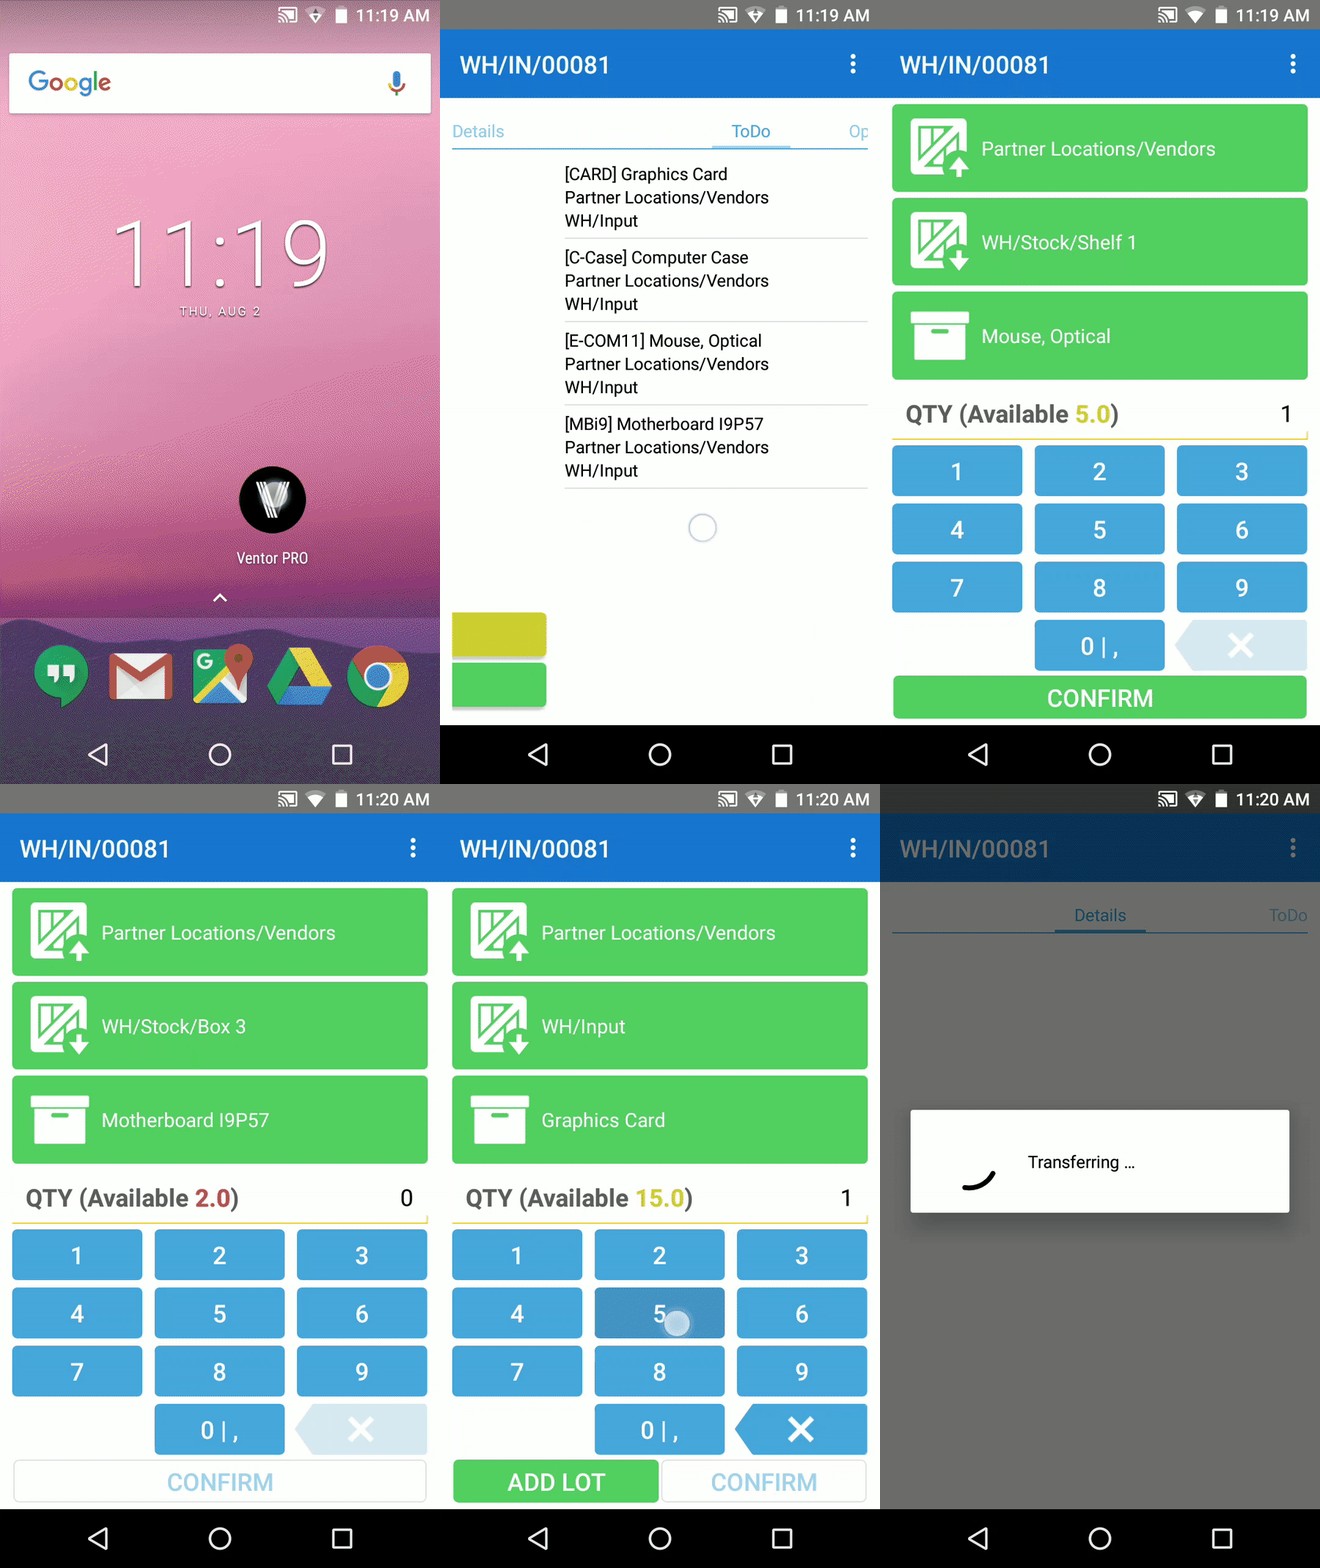
After a product is scanned (first the user selects “Computer case”), the app shows the default destination location where the products should be moved (WH/Input). Our user decides to move all computer cases to this location. He fills in the quantity (can be increased by multiple scanning of product barcode) and clicks the “Confirm” button;
4. Moving all items to another location
Then the user scans another product (Optical mouth) to move all 5 items to “Shelf 1”. He scans a barcode of the new location and the default location (Stock) is changing. The user clicks “Confirm” to move items.
Note that the Ventor app can automatically recognize different types of barcode codes. If you scan a new item, the app updates the item. If you scan a location barcode, the app updates the destination location.


5. Moving items to different locations
The next product is the Motherboard I9P57. The user wants to move 3 items to one location and the other 2 items to another location. He scans the product barcode, fills in the needed quantity and scans the barcode of the first location (Box 3).


After clicking “Confirm”, the app shows a message that the user is going to move fewer items and suggests splitting operation. The user clicks “Split” and now he can move the other two items to another location (Shelf 4).


Note, in case you pick products which are not in the order they placed in the PO (as in our case), after you move the last product from the PO, the app suggests you create a backorder. If you want to continue picking the other products, just click “Cancel”. The transfer will not be closed and you will be able to continue moving the other products.

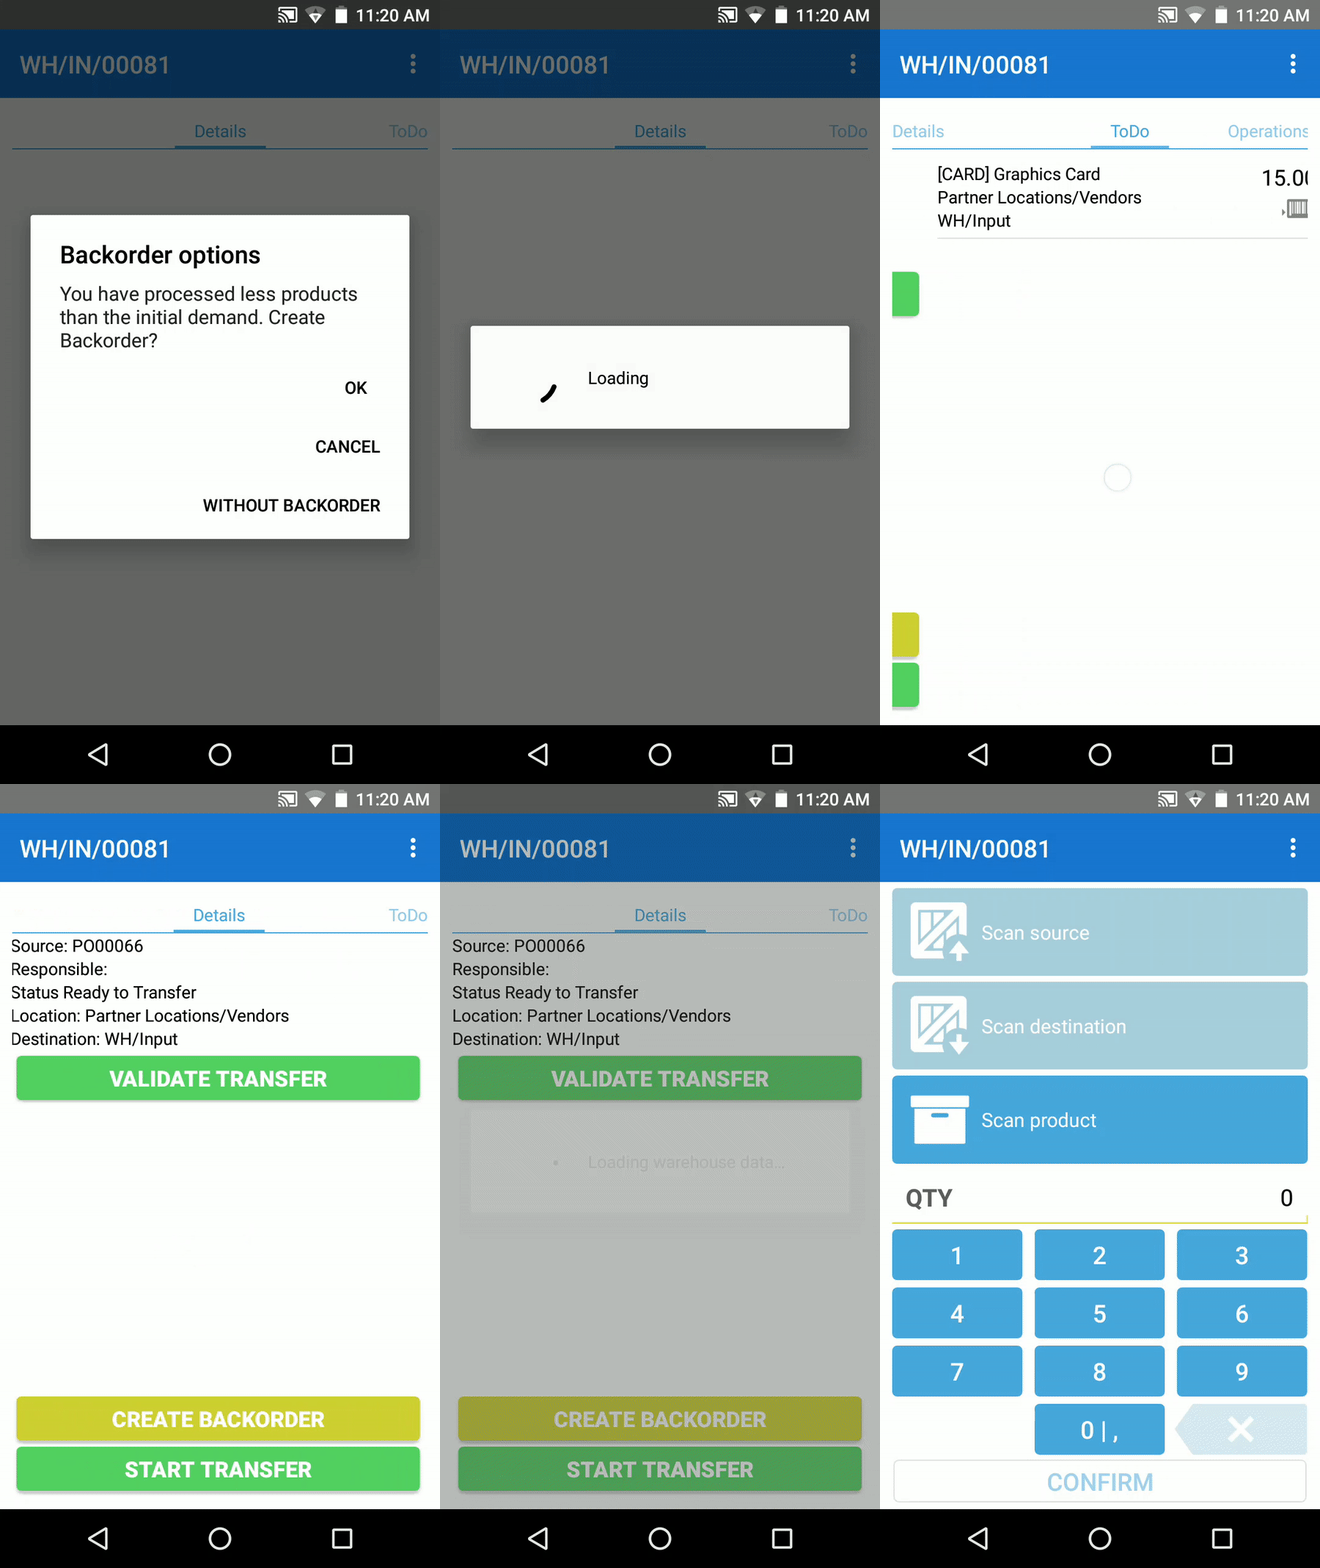
6. Moving items tracked by Lot or Serial numbers
The user scans the last product from the PO (Graphic Card). This product is tracked by lot numbers.
You can check out our detailed guides how to manage Lot and Serial numbers with Odoo and Ventor in our blog.
After changing the destination location the user clicks “Add lot” and scans, inserts new or selects an existing lot number manually.


That’sit, we have just received products on the warehouse and tracked all the moves in Odoo ERP using a barcode scanner only.
Conclusion
Now you see that your warehouse workflow can be easily simplified with the help of just one app. It’s possible to put products directly into a related location on the go using a barcode scanner. Also, you are able to mark items by Serial or Lot numbers, so there won’t be any disorganization in your warehouse.
If you still have questions about the putaway process in Odoo, please feel free to leave your comments below.
Try Ventor For Free With Your Odoo Instance
Follow our twitter account and subscribe to our newsletter to make sure you don’t miss updates.
Photo by Zebra Technologies
