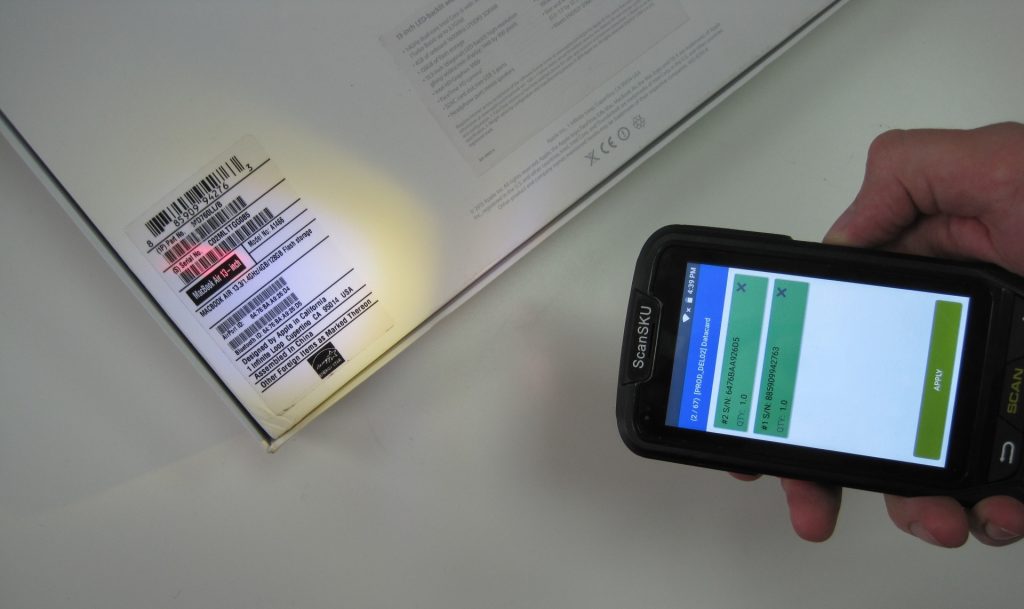
Lots & serial numbers management in Odoo
In Odoo ERP, each product template and product variant can have three options:
- Tracking by Serial Number (SN)Tracking by Lot(s) Number (LN)
– No Tracking (disable option, neither SN or LN)
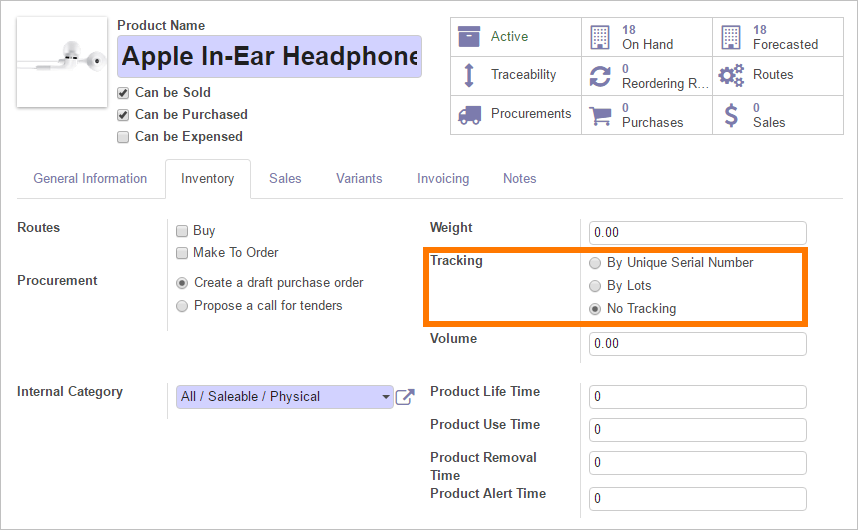
Note, tracking by lots/serial number is not activated by default. To activate this option, you need to go to the “Inventory” app > Configuration > Settings > Track lots or serial numbers (activate).
What is a Lot Number?
Using a lot number allows system users to add tracking information, such as date of manufacture, expiration dates, and other information that usually combines or sorts products by defined parameters. Many products can have the same lot number (while the serial number is always unique by product). For example, a footwear company could make 7K boxes of shoes in an 12-hour shift. Each box can be labeled with the same lot number to track a production date.
In this article, we will discuss serial numbers management. Read more about how to work with lots in this article
What is a Serial Number?
A serial number (S/N) is often used if you need to track warranty and maintenance after sale or also may possibly need to send back items to suppliers. A Serial ID is always a unique number that is assigned to a single product only, and no other product can have the same serial number. For example, if Sony produces 1000 HI-RES music players per day, each device will be assigned a unique S/N. Based on S/N we can track warranty and other supplier information related only to one particular device.
So if you sell such types of products, you need to know how to manage serial numbers or lots in Odoo ERP (using the Ventor app). Let’s look at the two most common operations in the warehouse: receiving and picking (as a part of delivery process).
Receiving Goods with S/N (Odoo + Ventor)
Prerequisites
- The receiving product should be assigned the “Tracking by SN” setting
– The incoming transfer should be created in Odoo (manually or based on PO) before receiving process begins
User case
1. User takes a scanner (or mobile phone) and goes to the truck to receive products
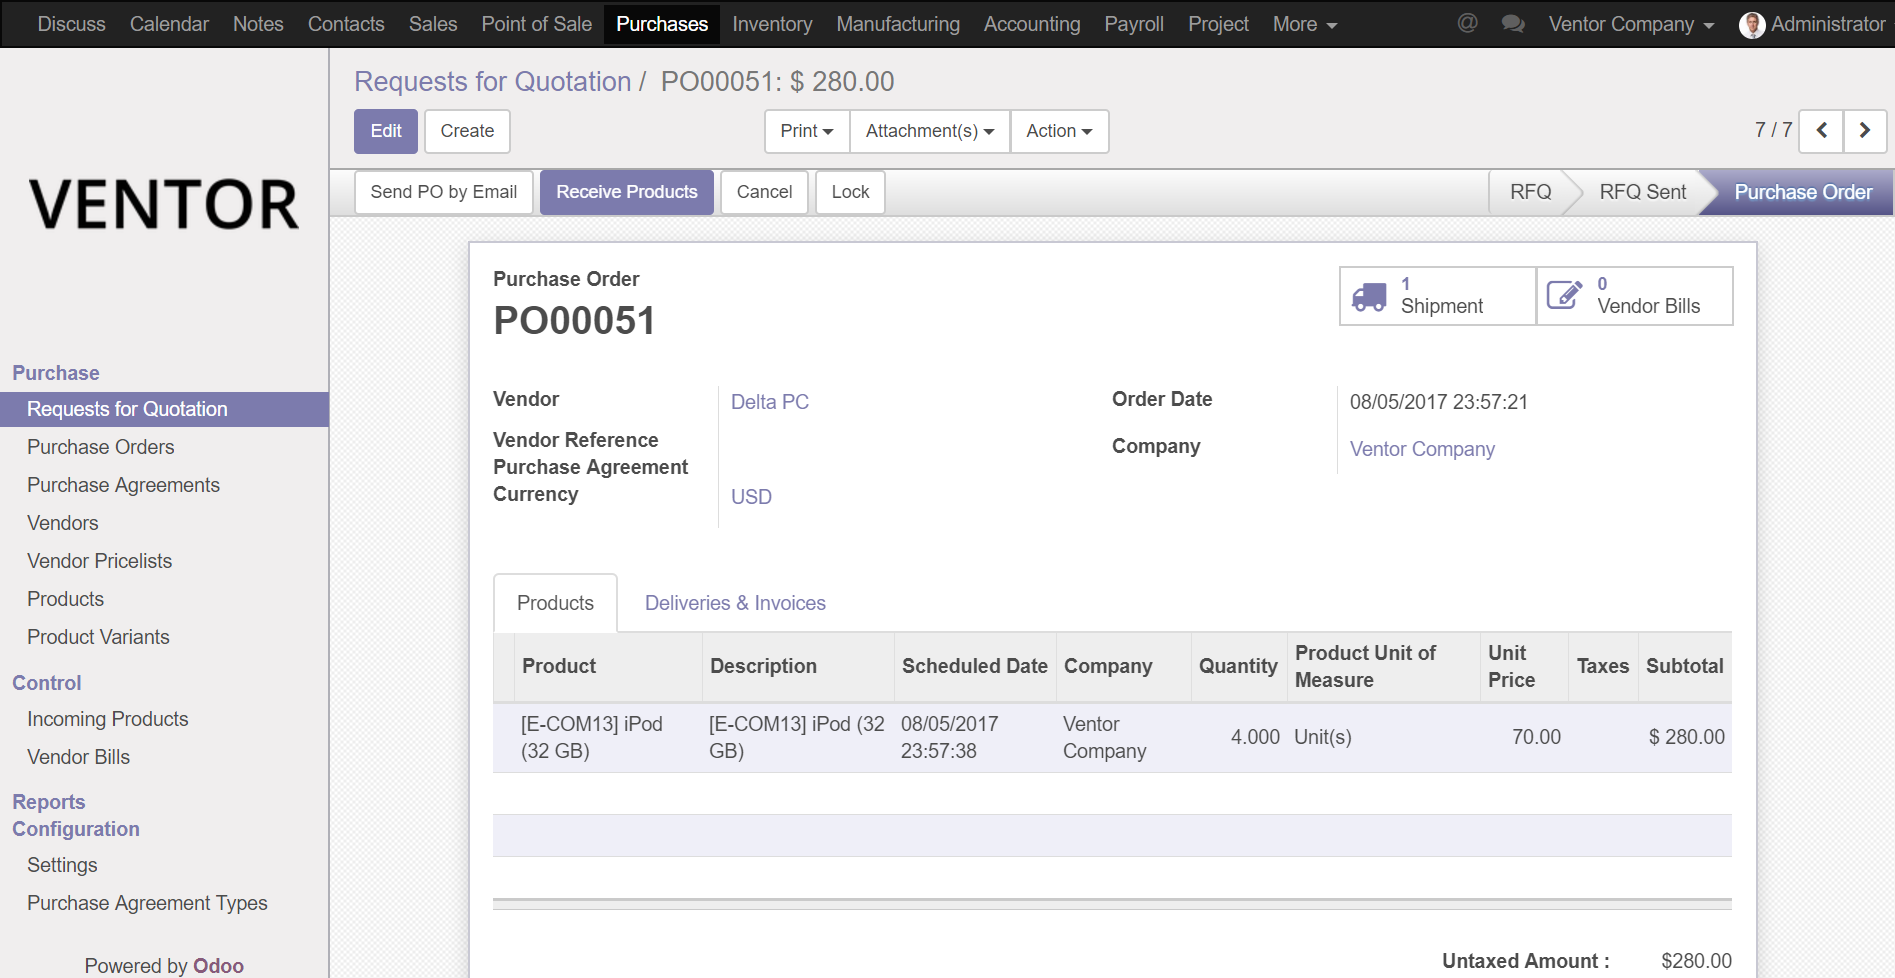
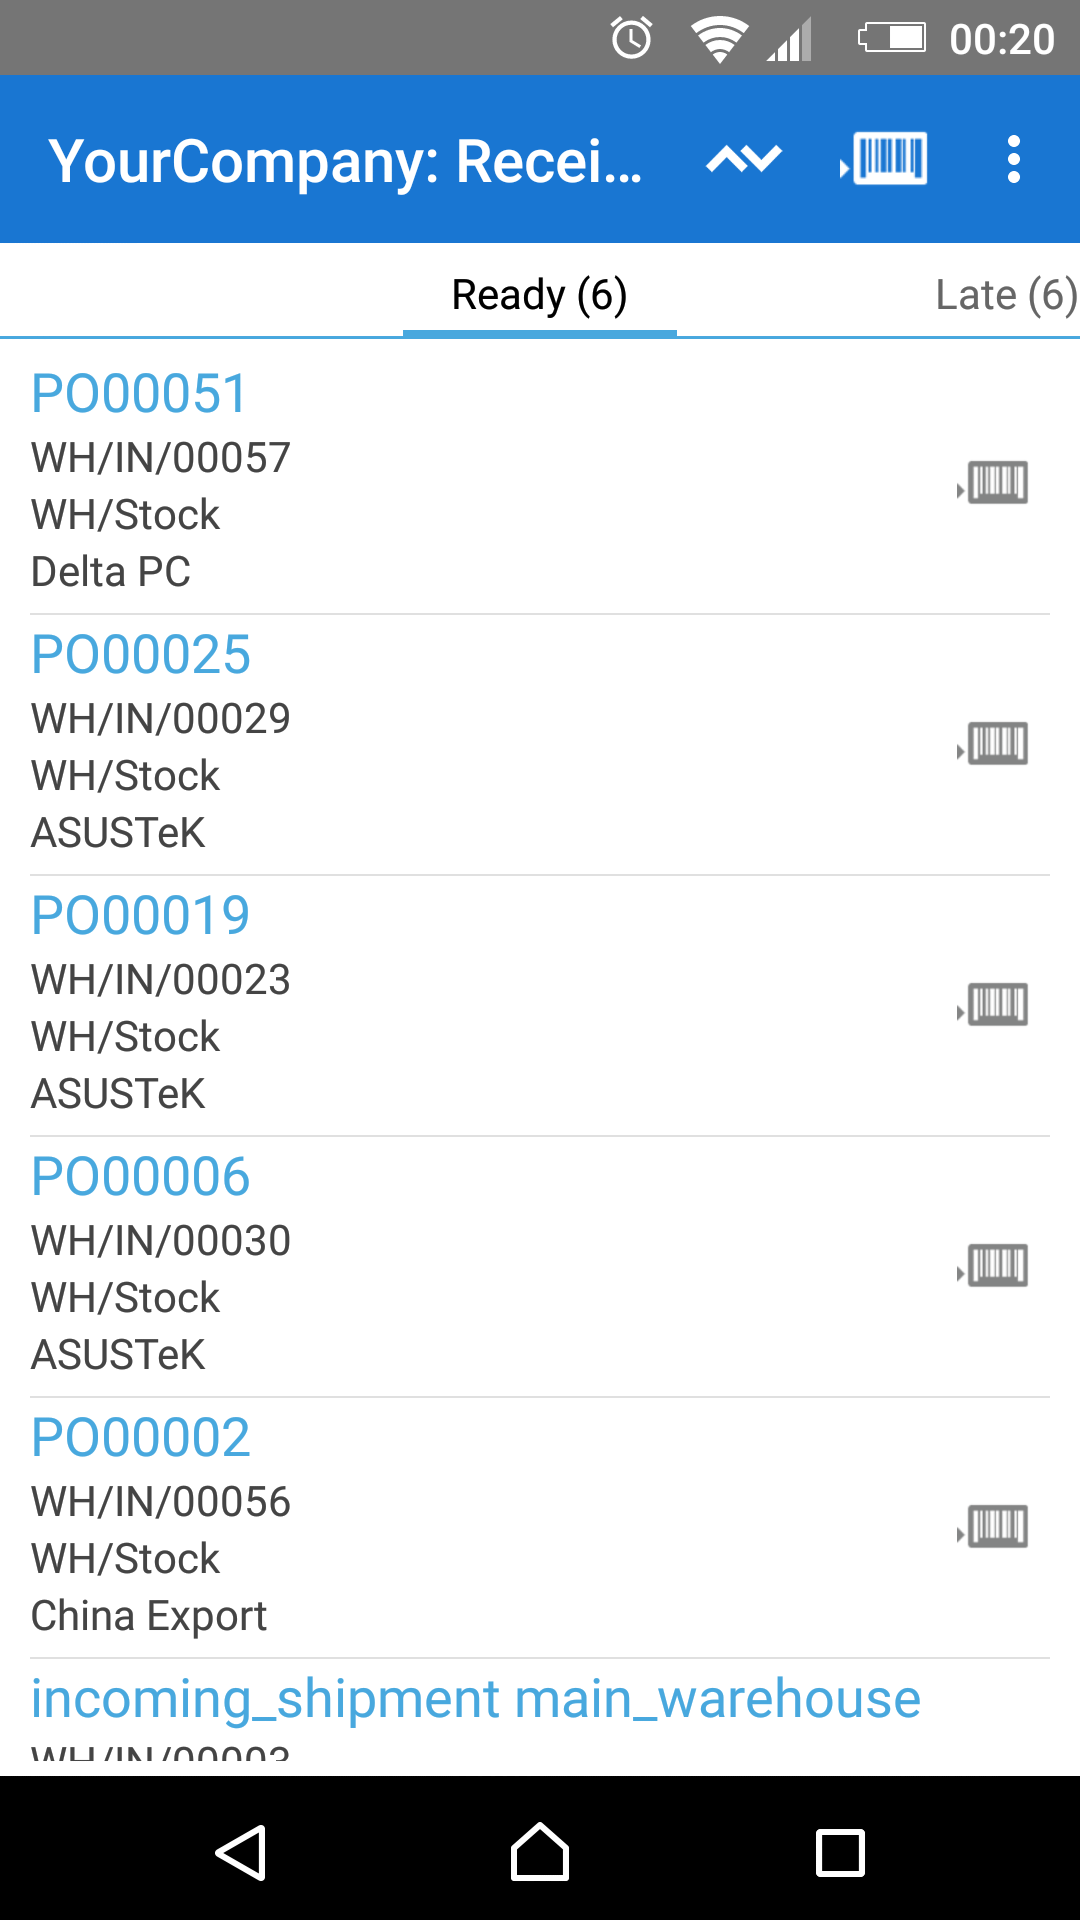
2. The user then opens the appropriate transfers (Warehouse operations > Receipts > WH/IN/00057) and clicks on “Start Transfer”
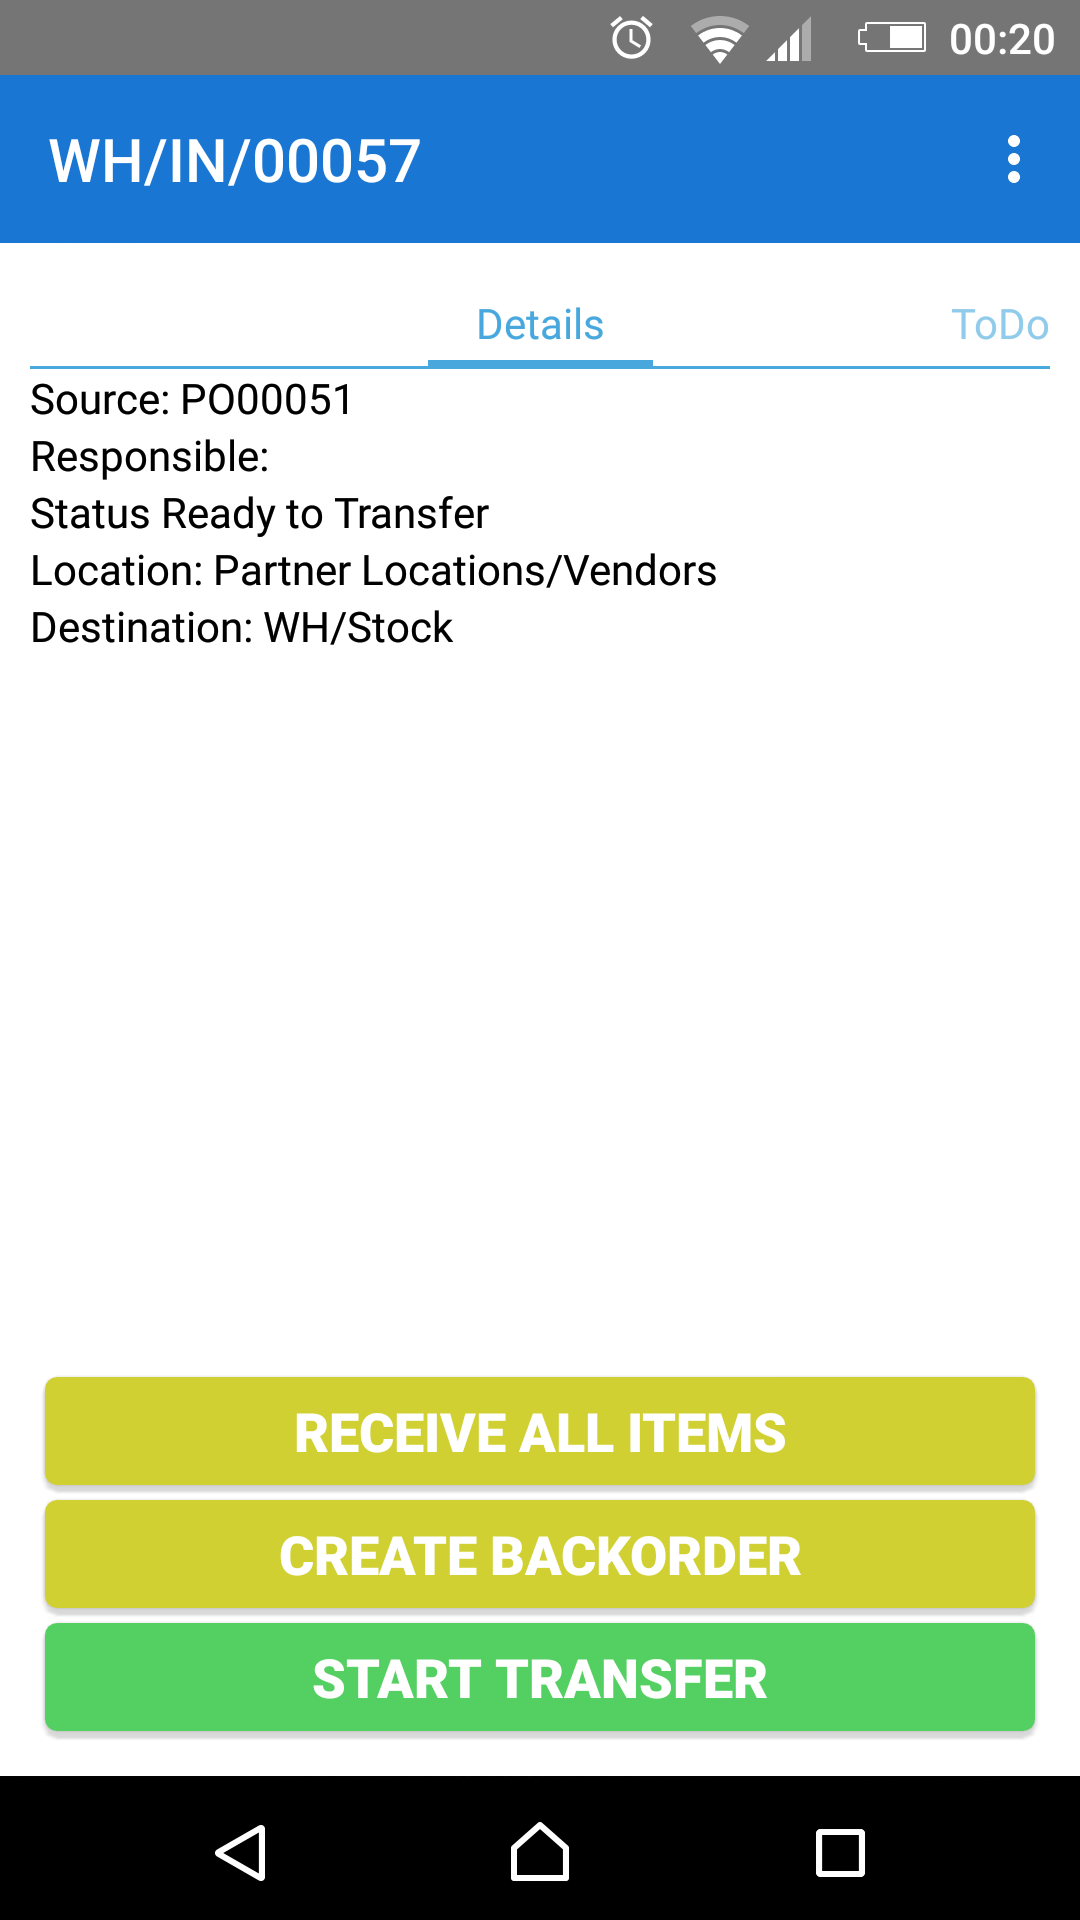
3. If the item has been set to “Tracking by SN,” the user should take the following actions:
a. Scan the barcode of the first item from the truck (in our case, only one product)
b. If user clicks the “Confirm” button, the app shows the following message: “Please create new S/N or Lot using additional menu (top right corner)”
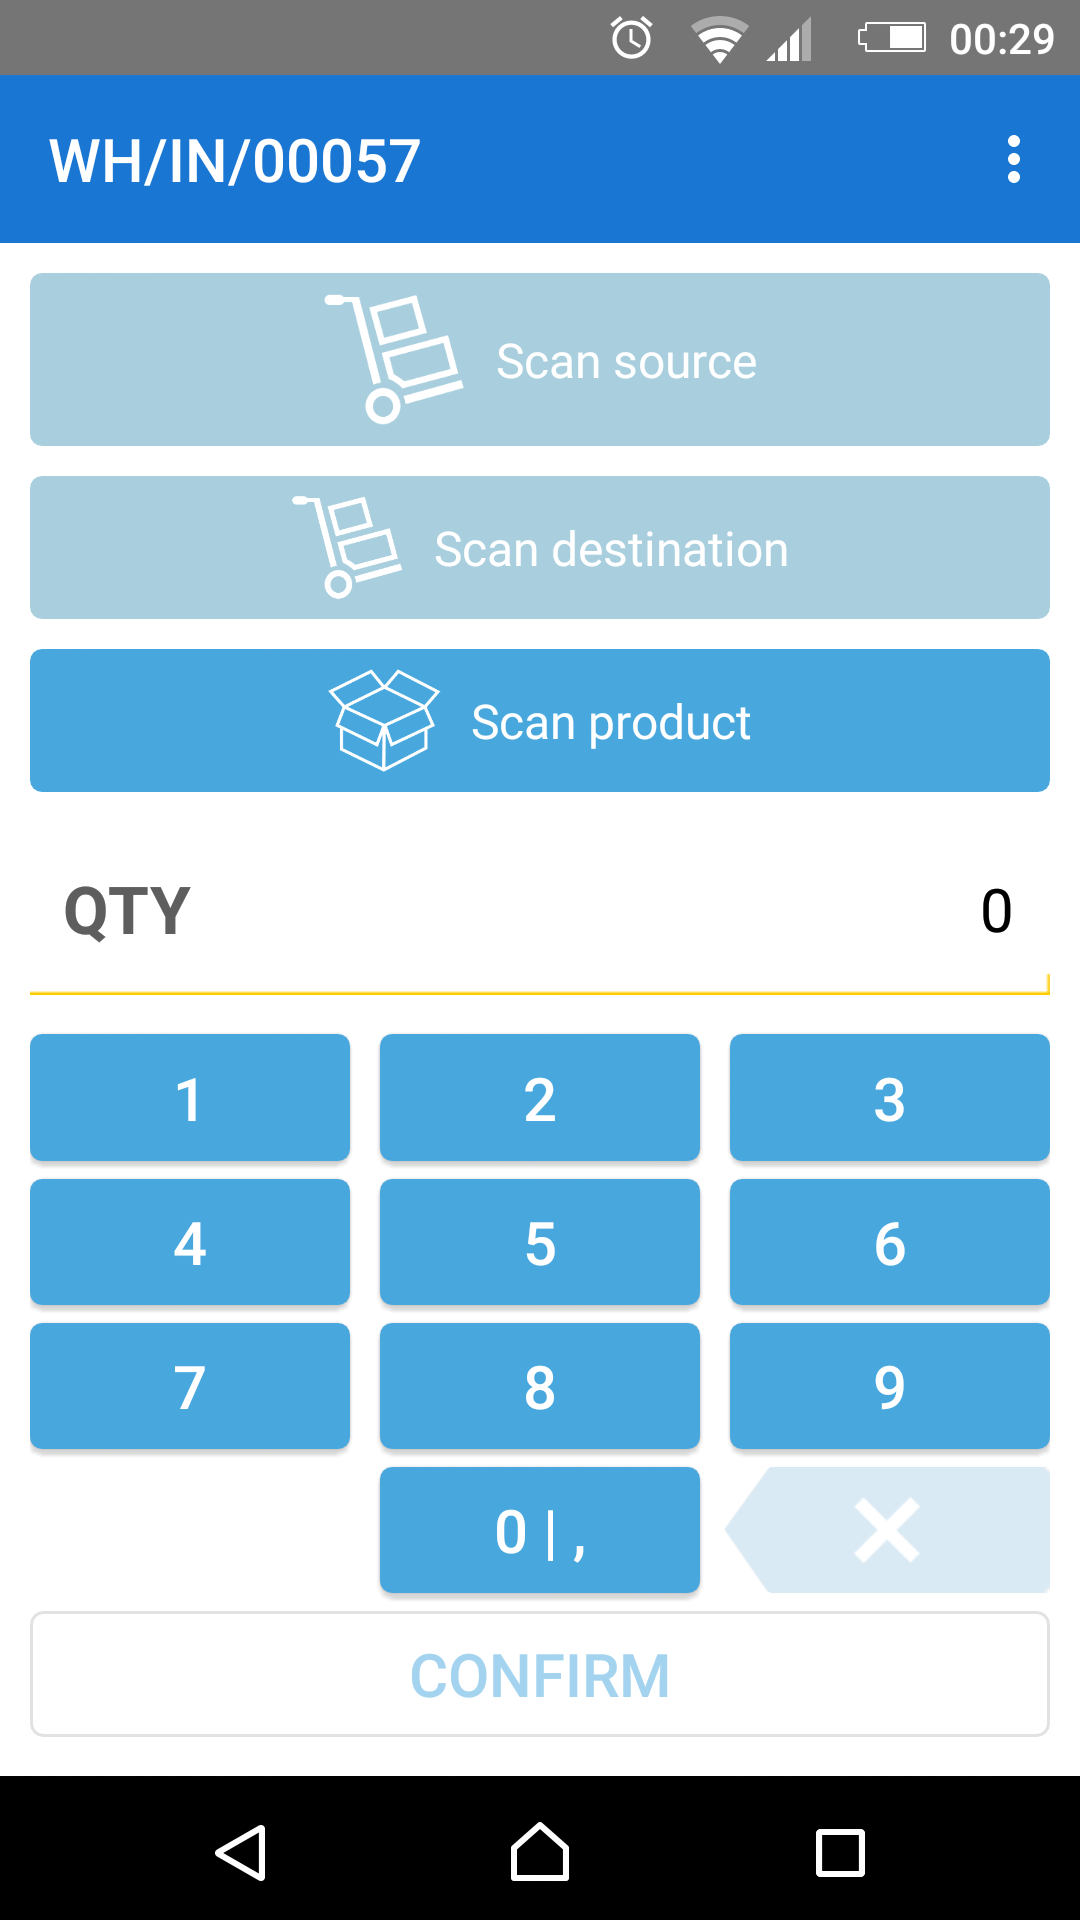
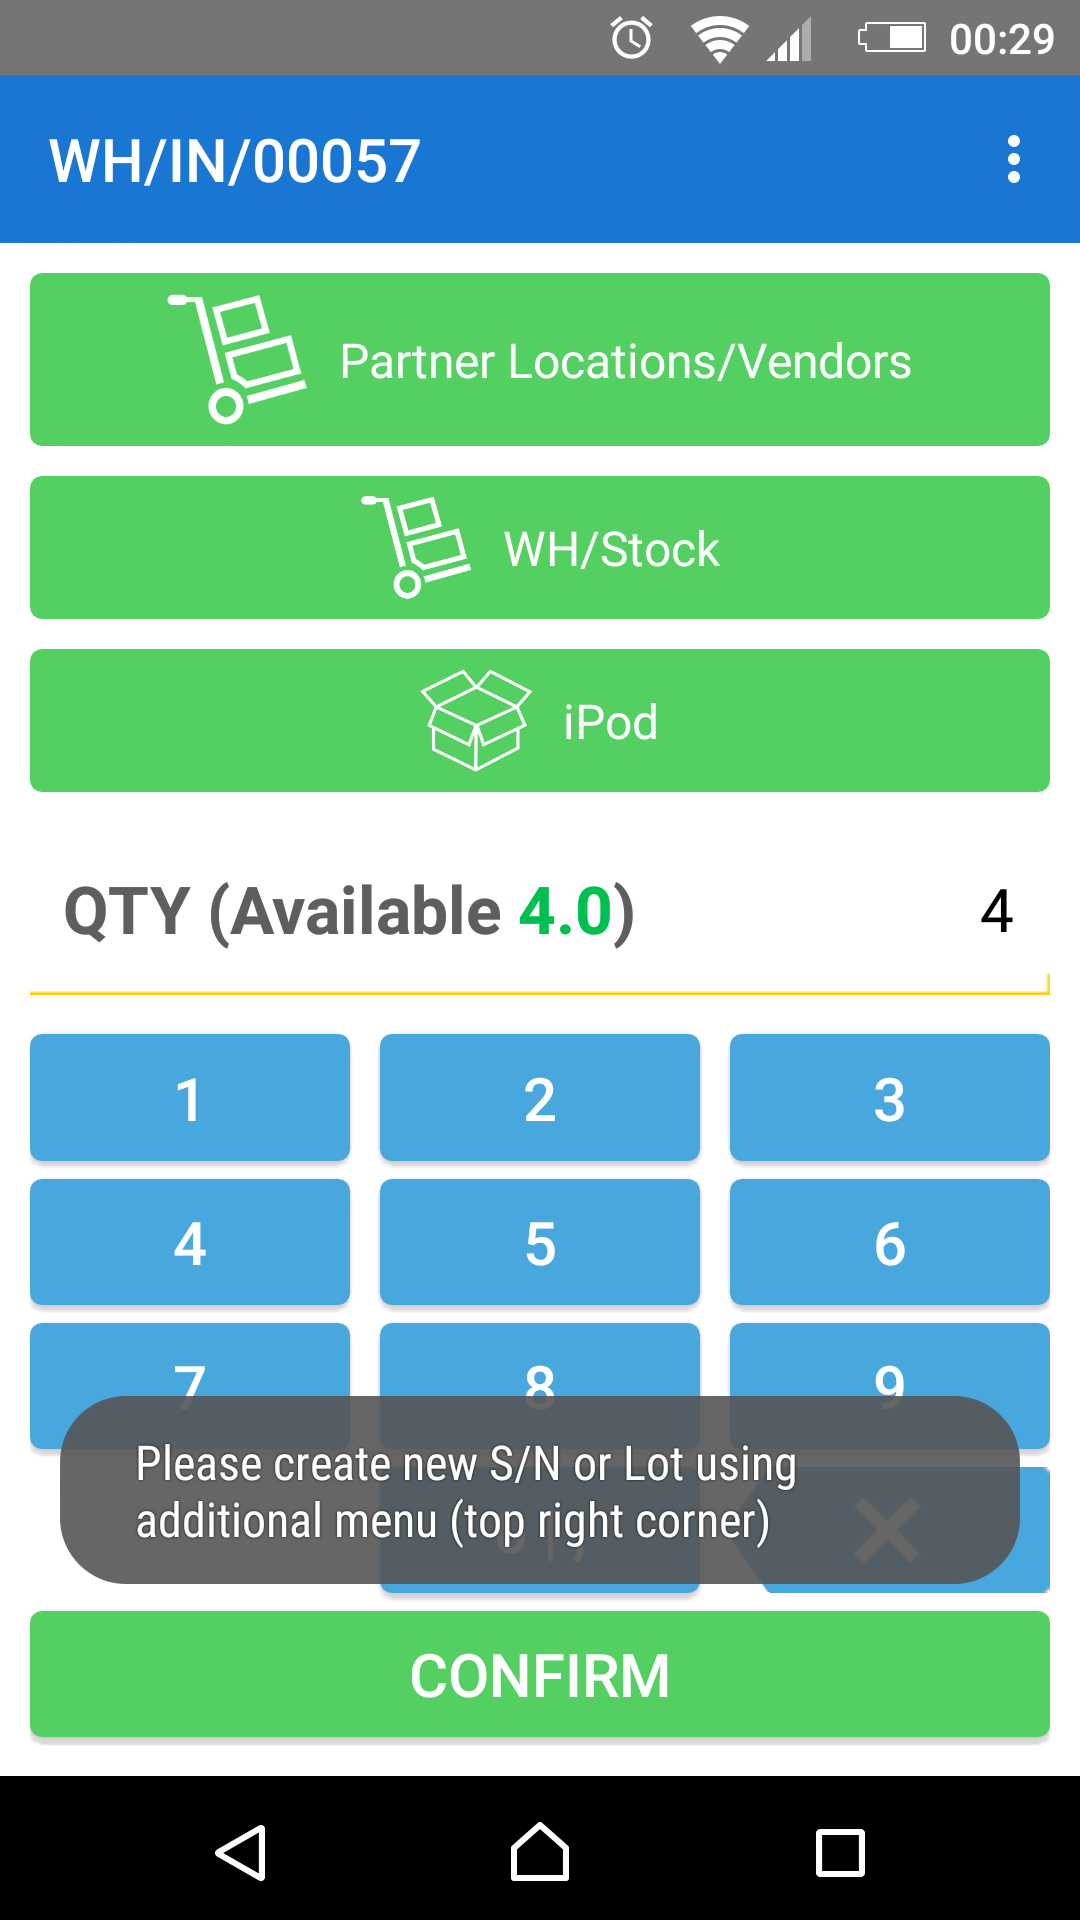
c. User goes to additional menu and clicks “Manage Serials/Lots” to create a new “S/N” for this item. Usually, you will need to create a new S/N. It is possible to choose an existing S/N if you have appropriate settings in Odoo
d. The user then scans the barcode / QR code of the S/Ns, one by one. Remember that each item should have a unique S/N. Each scan will add a card with one item and QTY “1”
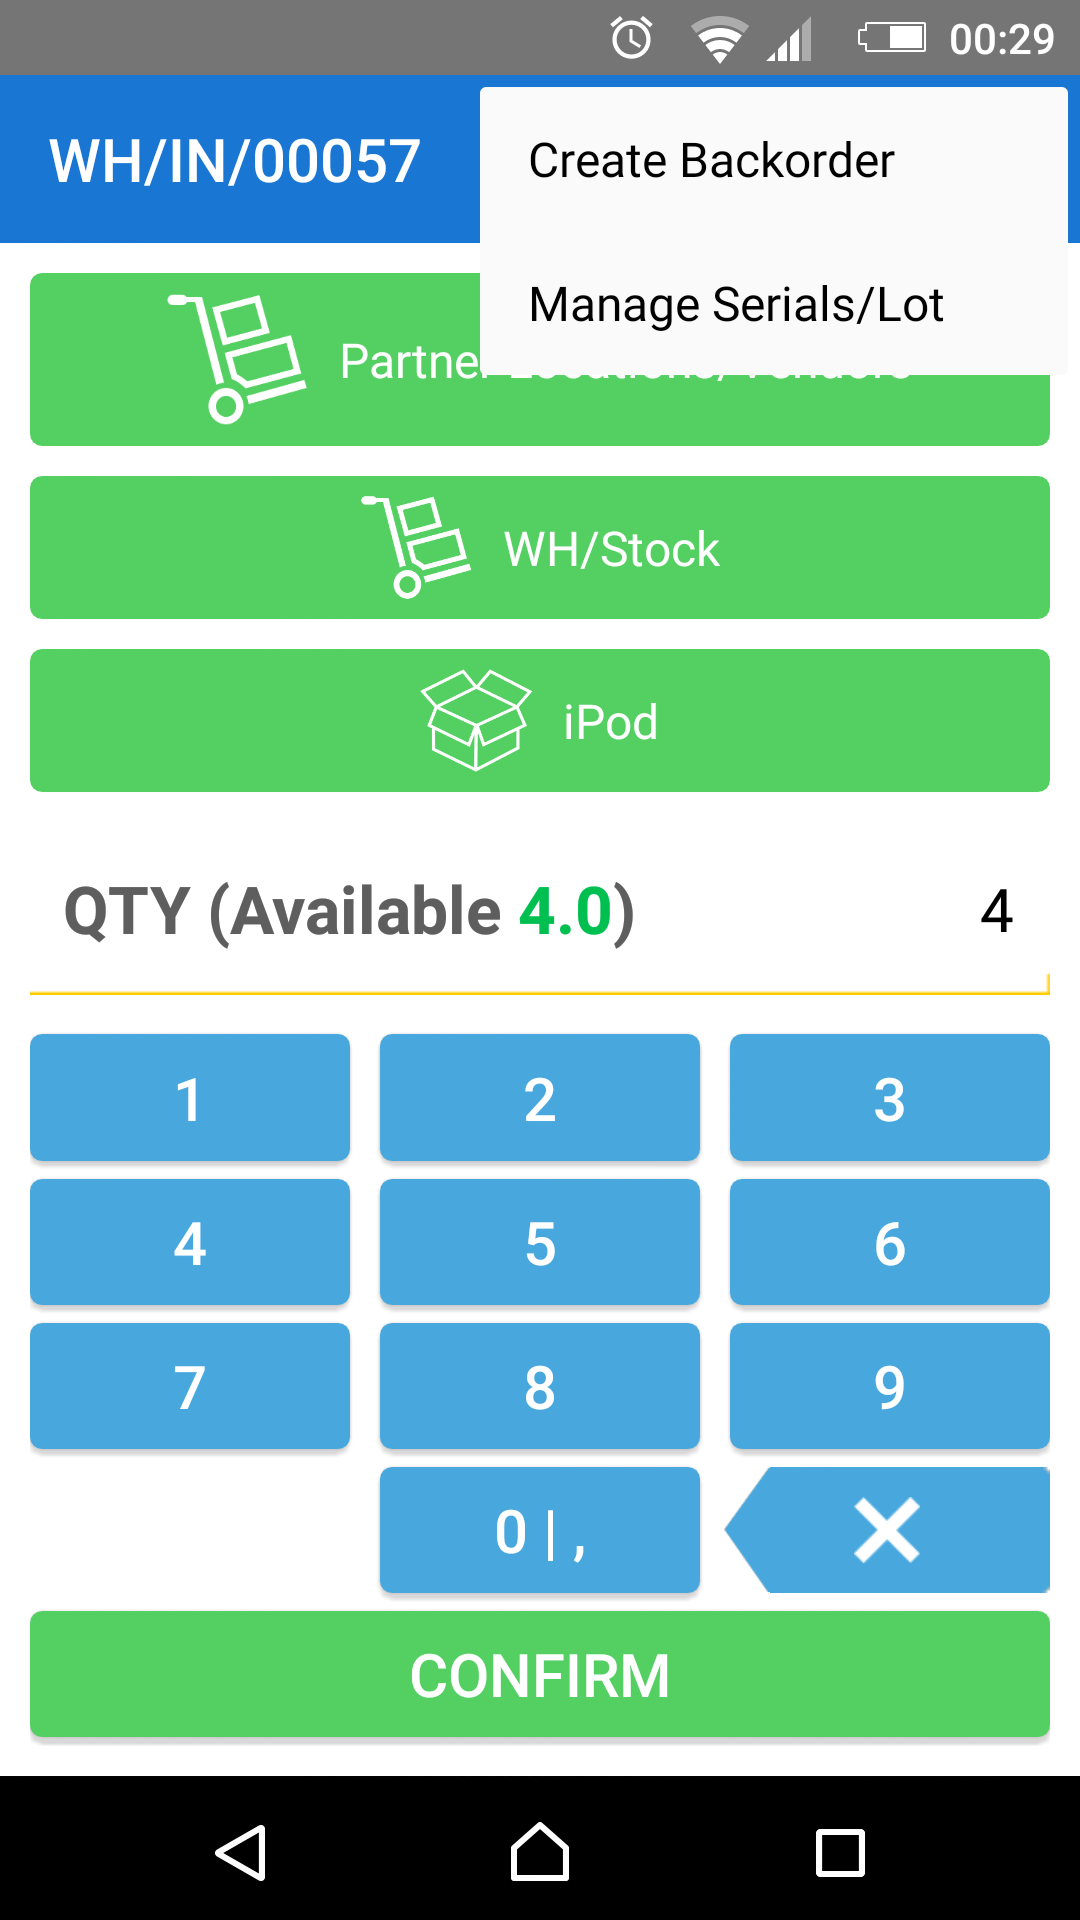
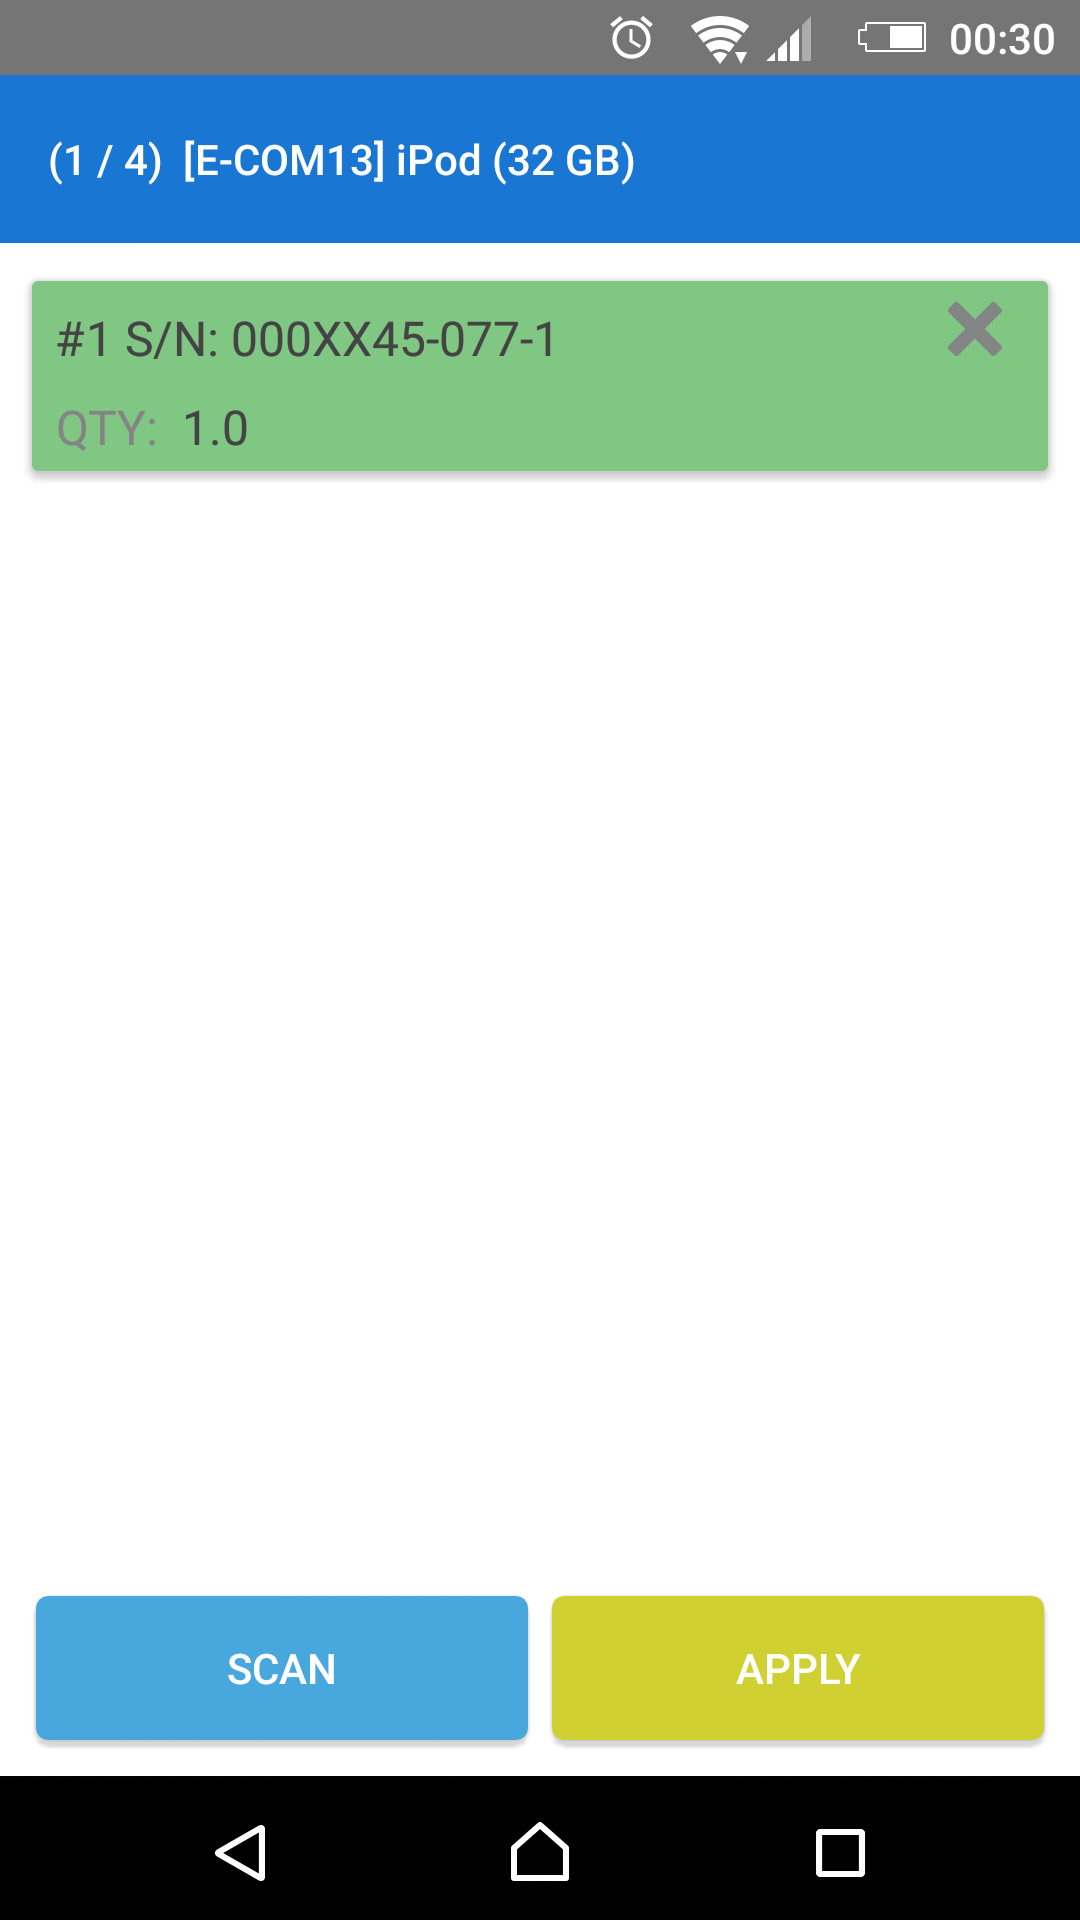
e. After all items are scanned and have S/Ns, the user clicks “Apply”
f. Next, the user clicks “Confirm”, and all scanned items go to the warehouse with appropriate serial numbers
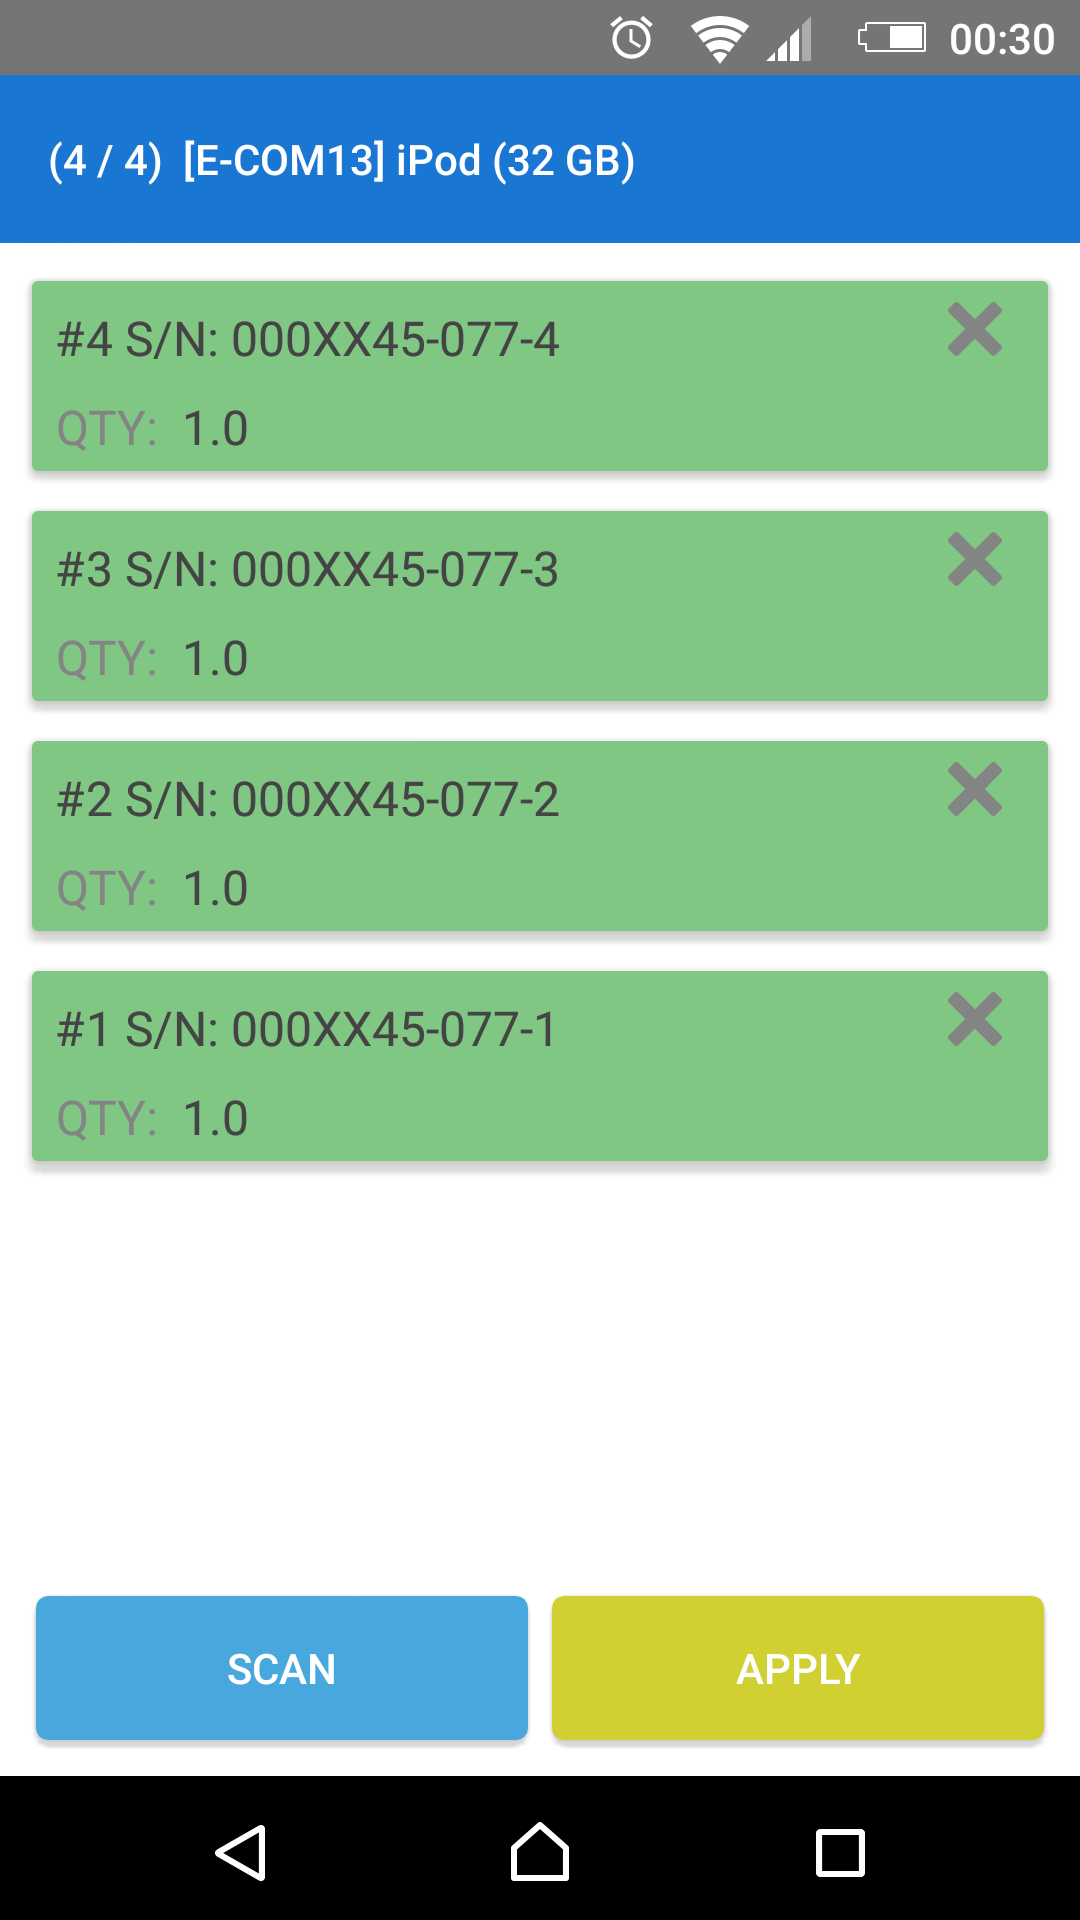
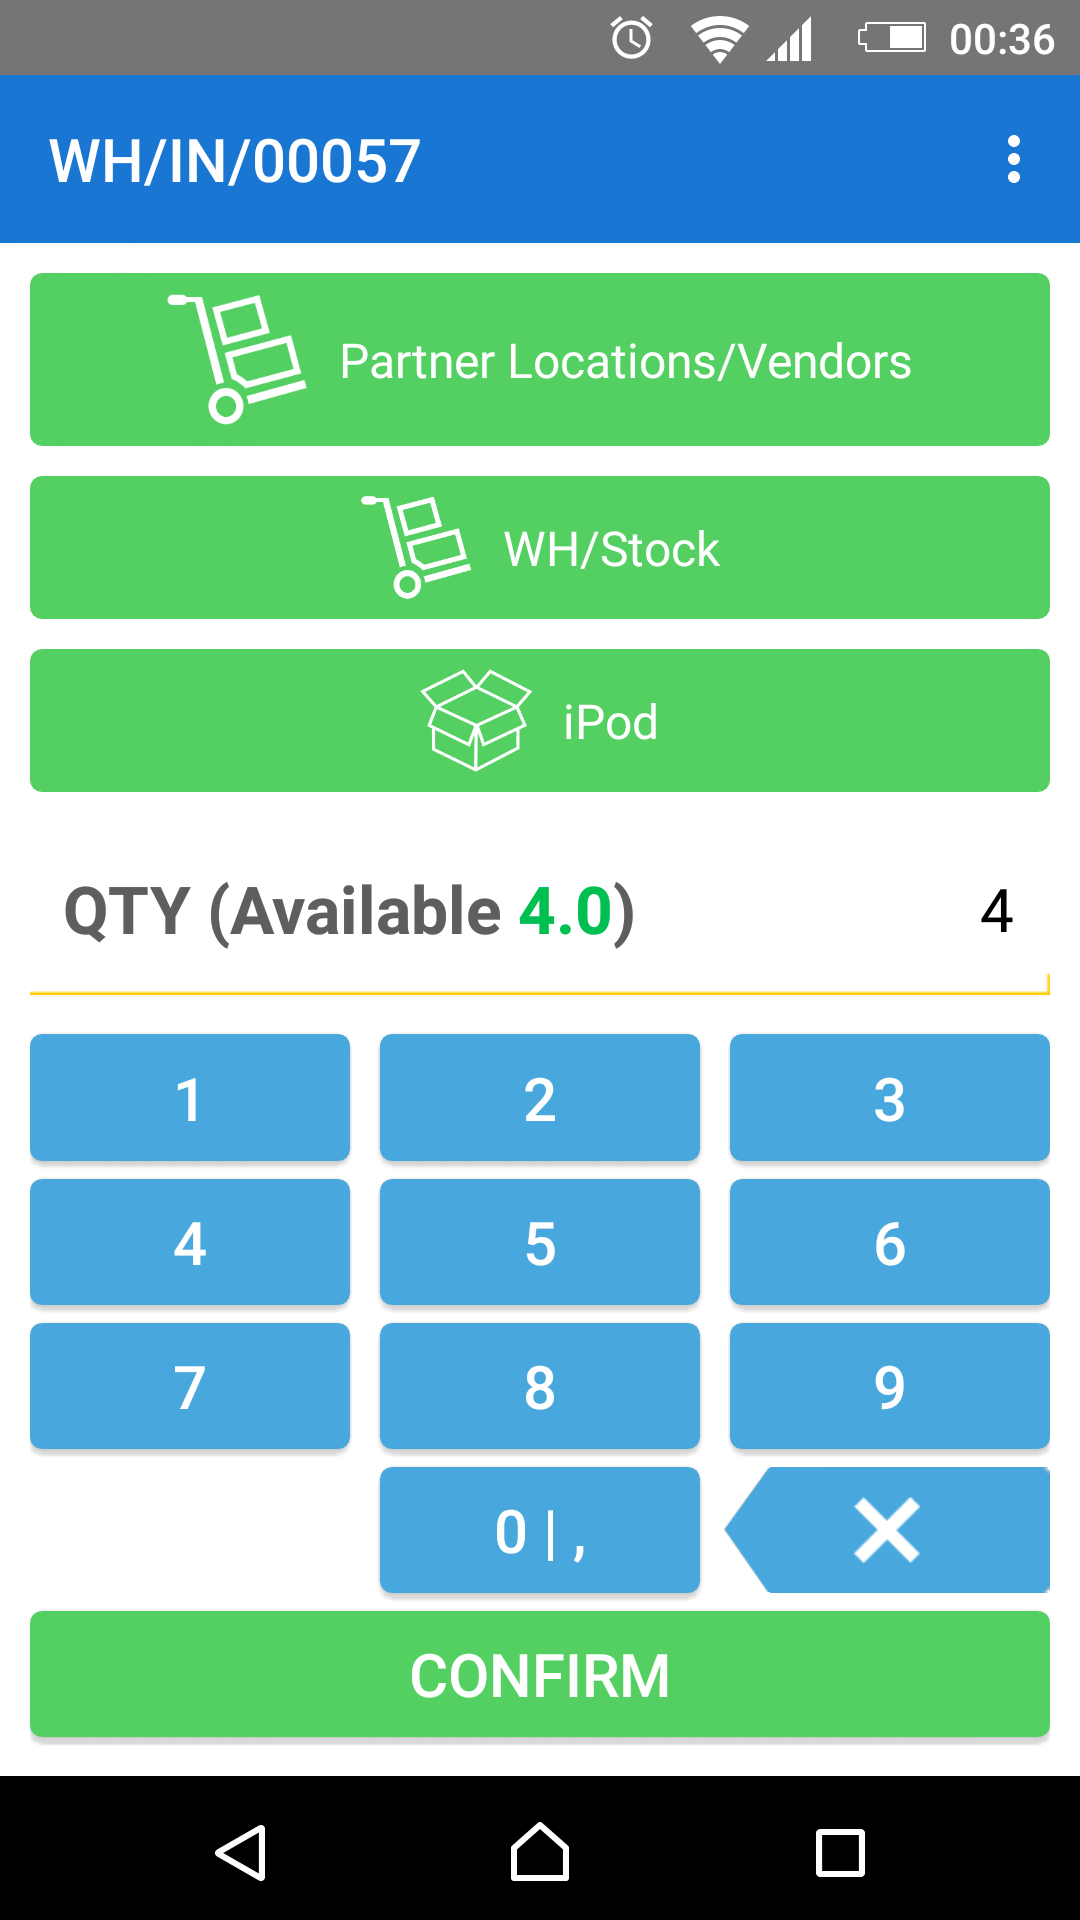
4. After all the items are received, the user goes to the next warehouse operation
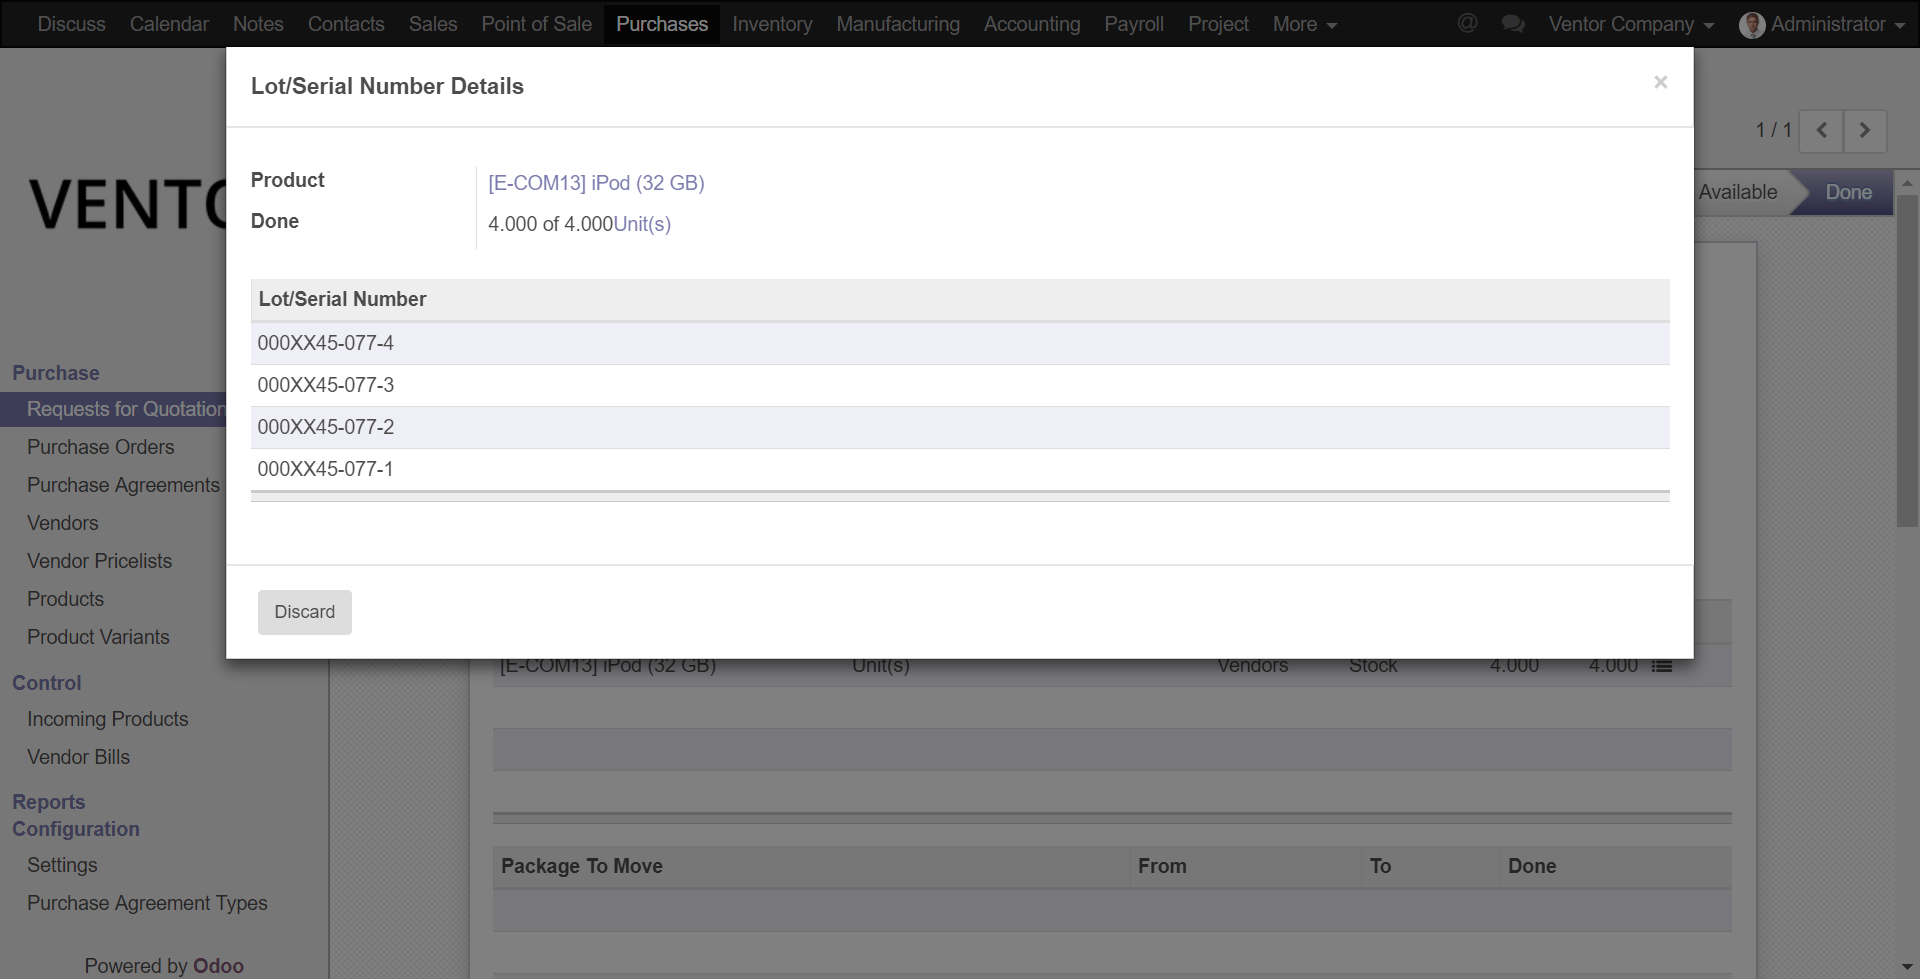
Ventor app helps to assign serial numbers through barcode scanner
Delivery Goods with S/Ns
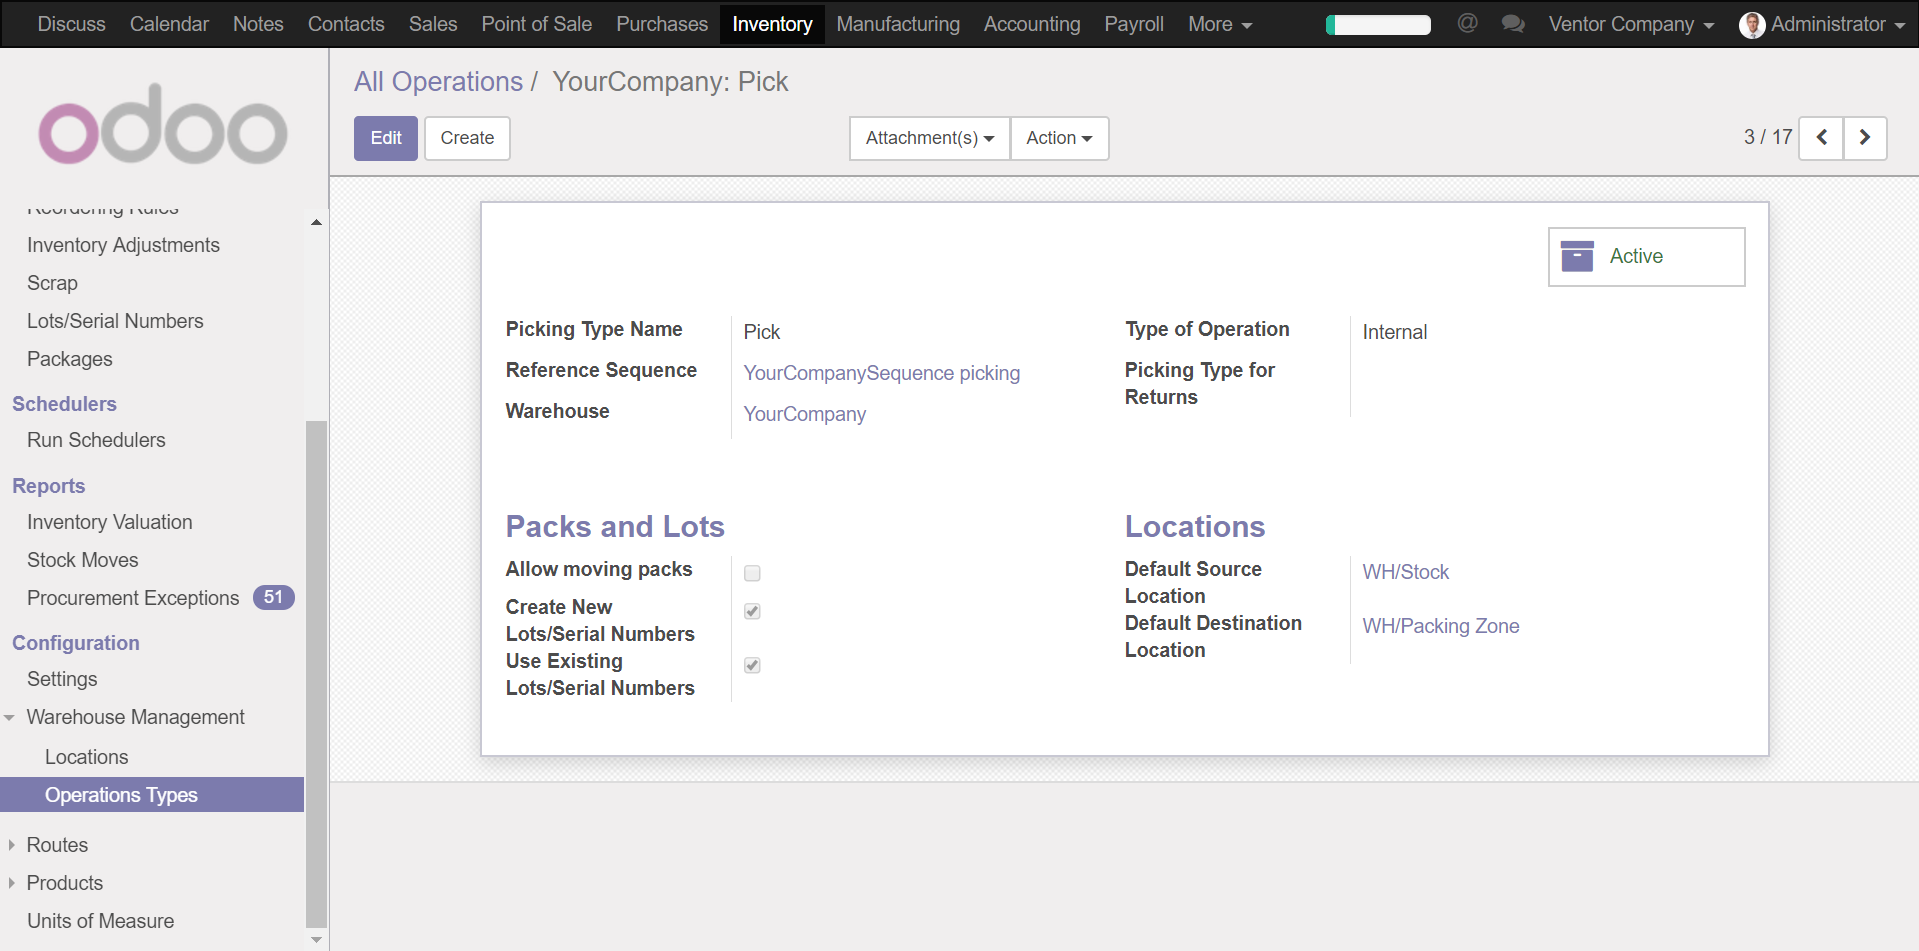
The delivery process can be done in either one (picking/delivery) or two-to-three steps (pack + delivery). You need to confirm S/Ns of the items moved with each step taken. Remember that the logic of the app will depend on operational type settings in Odoo. You can create a new S/N, use an existing one or support both options.
Prerequisites
- The receiving product should be set to “Tracking by SN”
– The delivery order should be created in Odoo (manually or based on SO) before the delivery process begins
User case
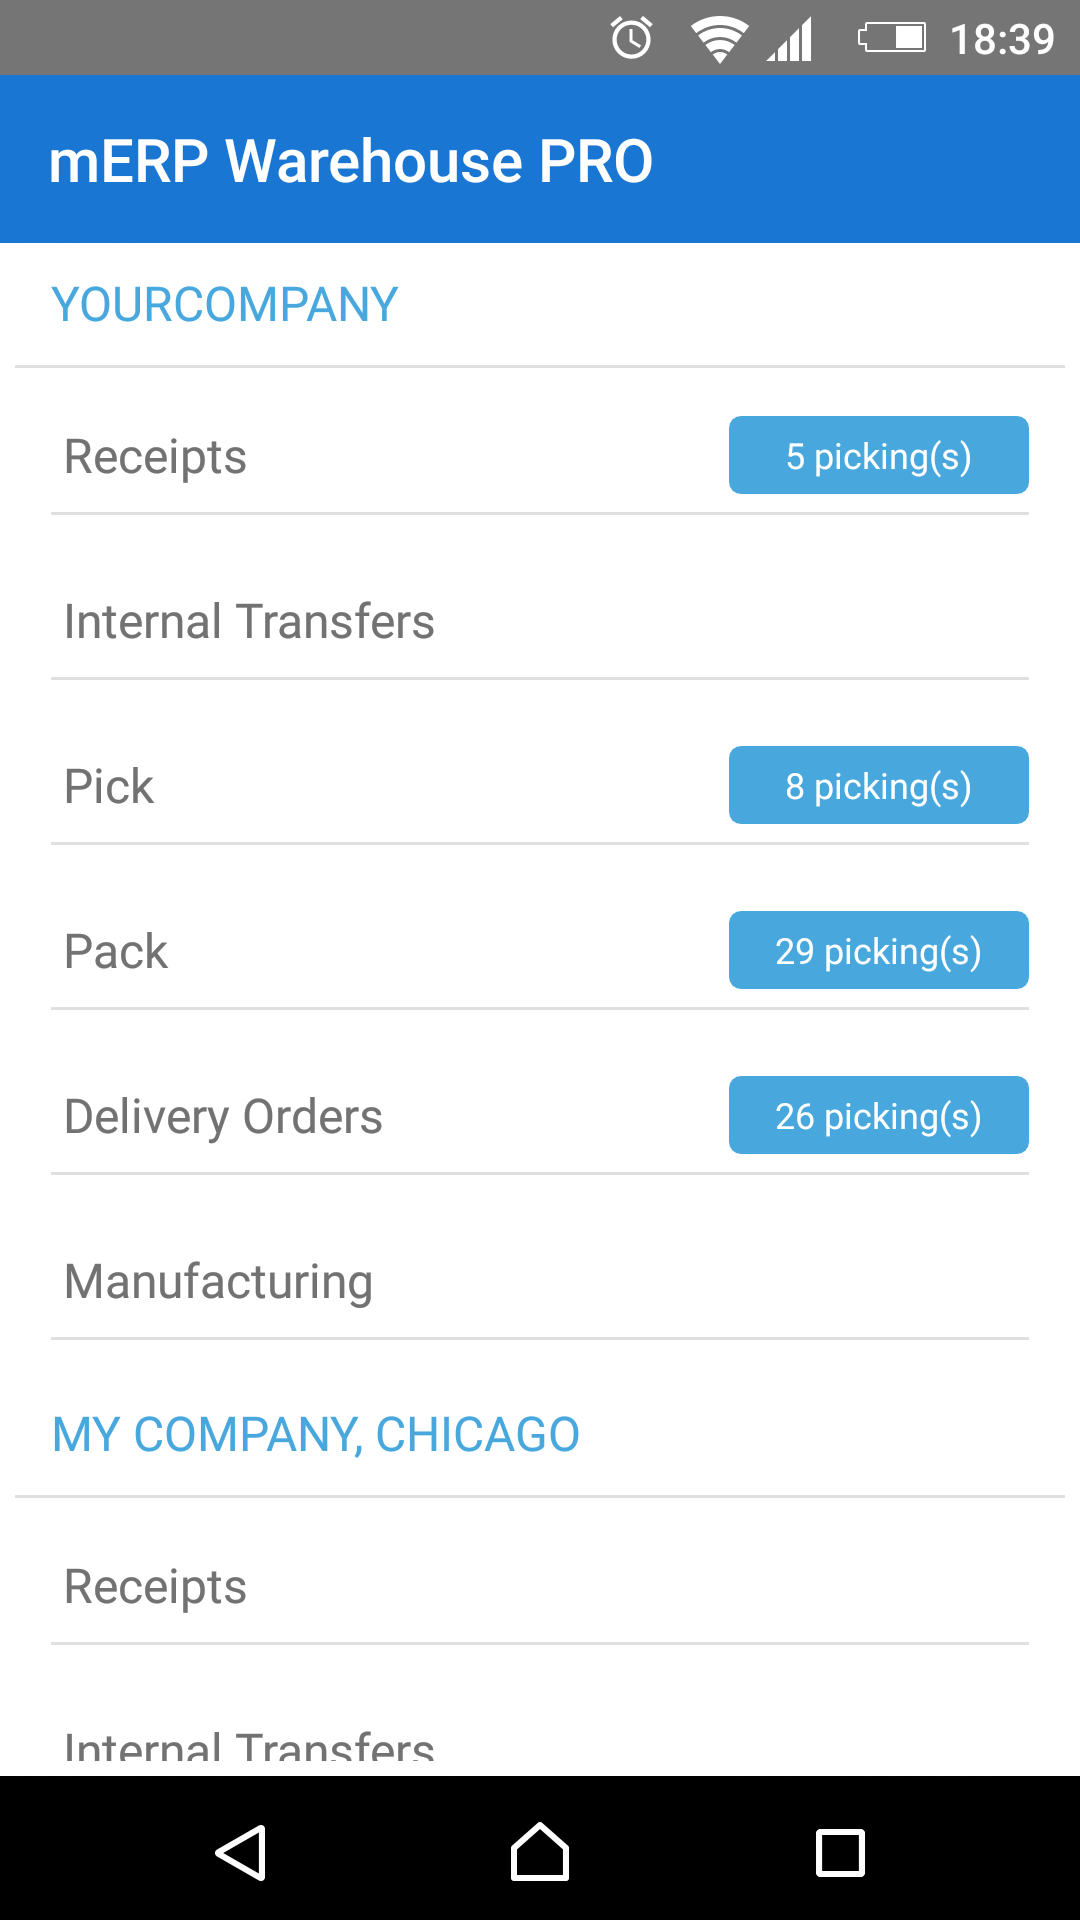
1. The user takes a scanner (or mobile phone) and goes to pick the order (“Pick” menu among the warehouse operations)
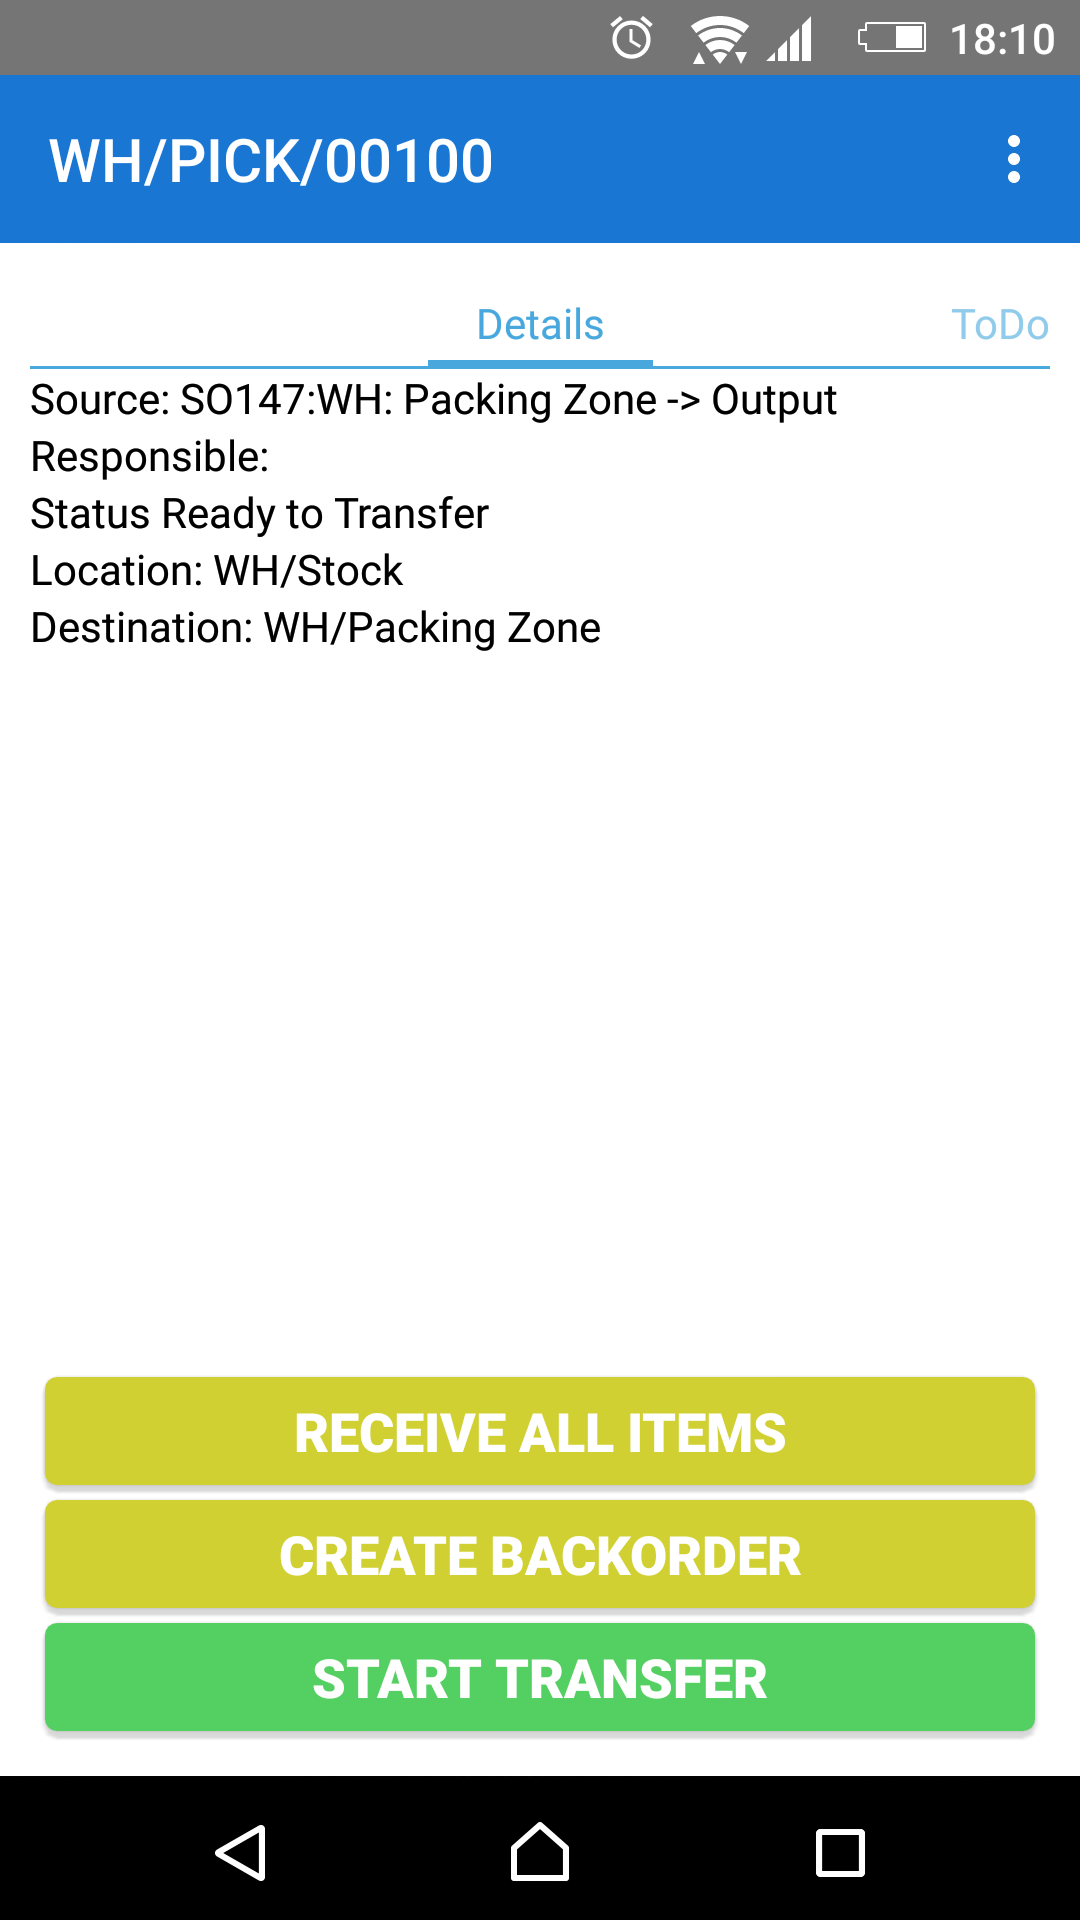
2. The user then opens the appropriate transfers (Warehouse operations > Pick/Delivery > WH/PICK/00100) and clicks on “Start Transfer”
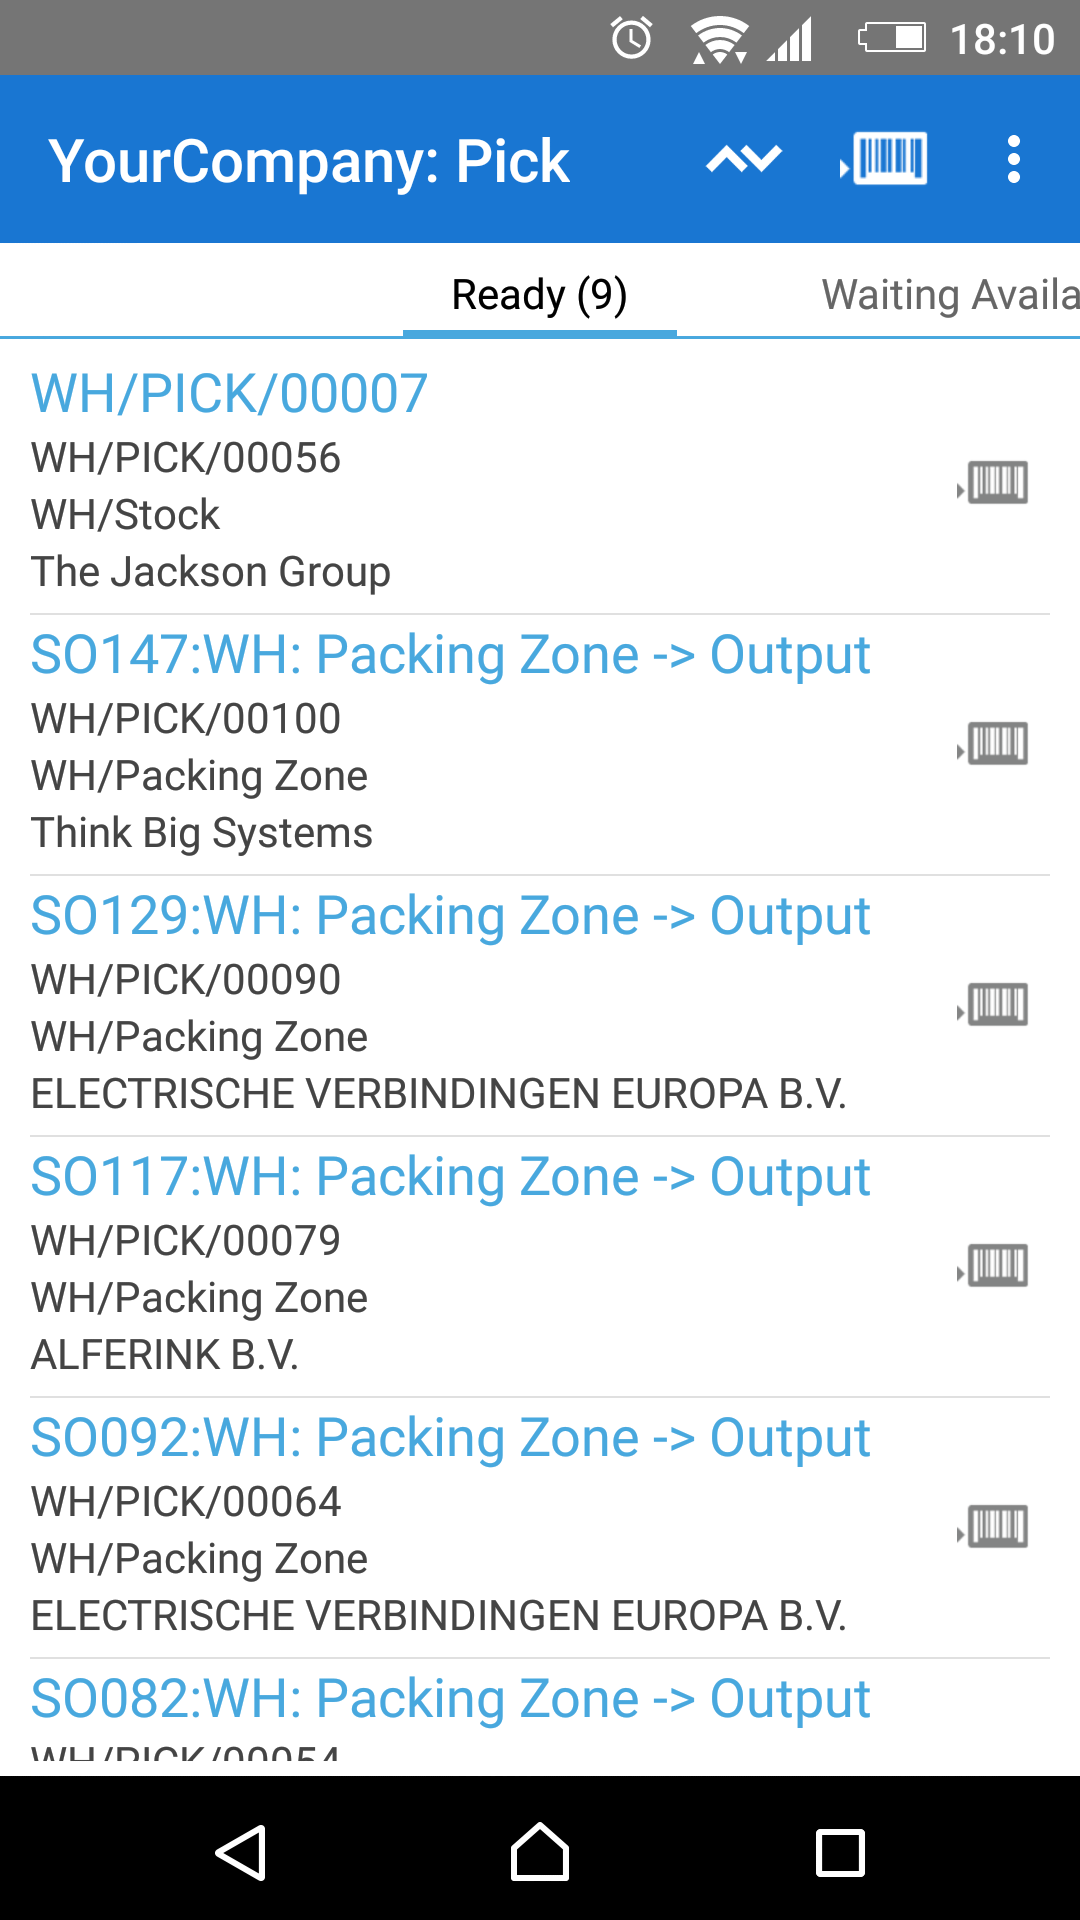
3. The app shows the location and item the user needs to take
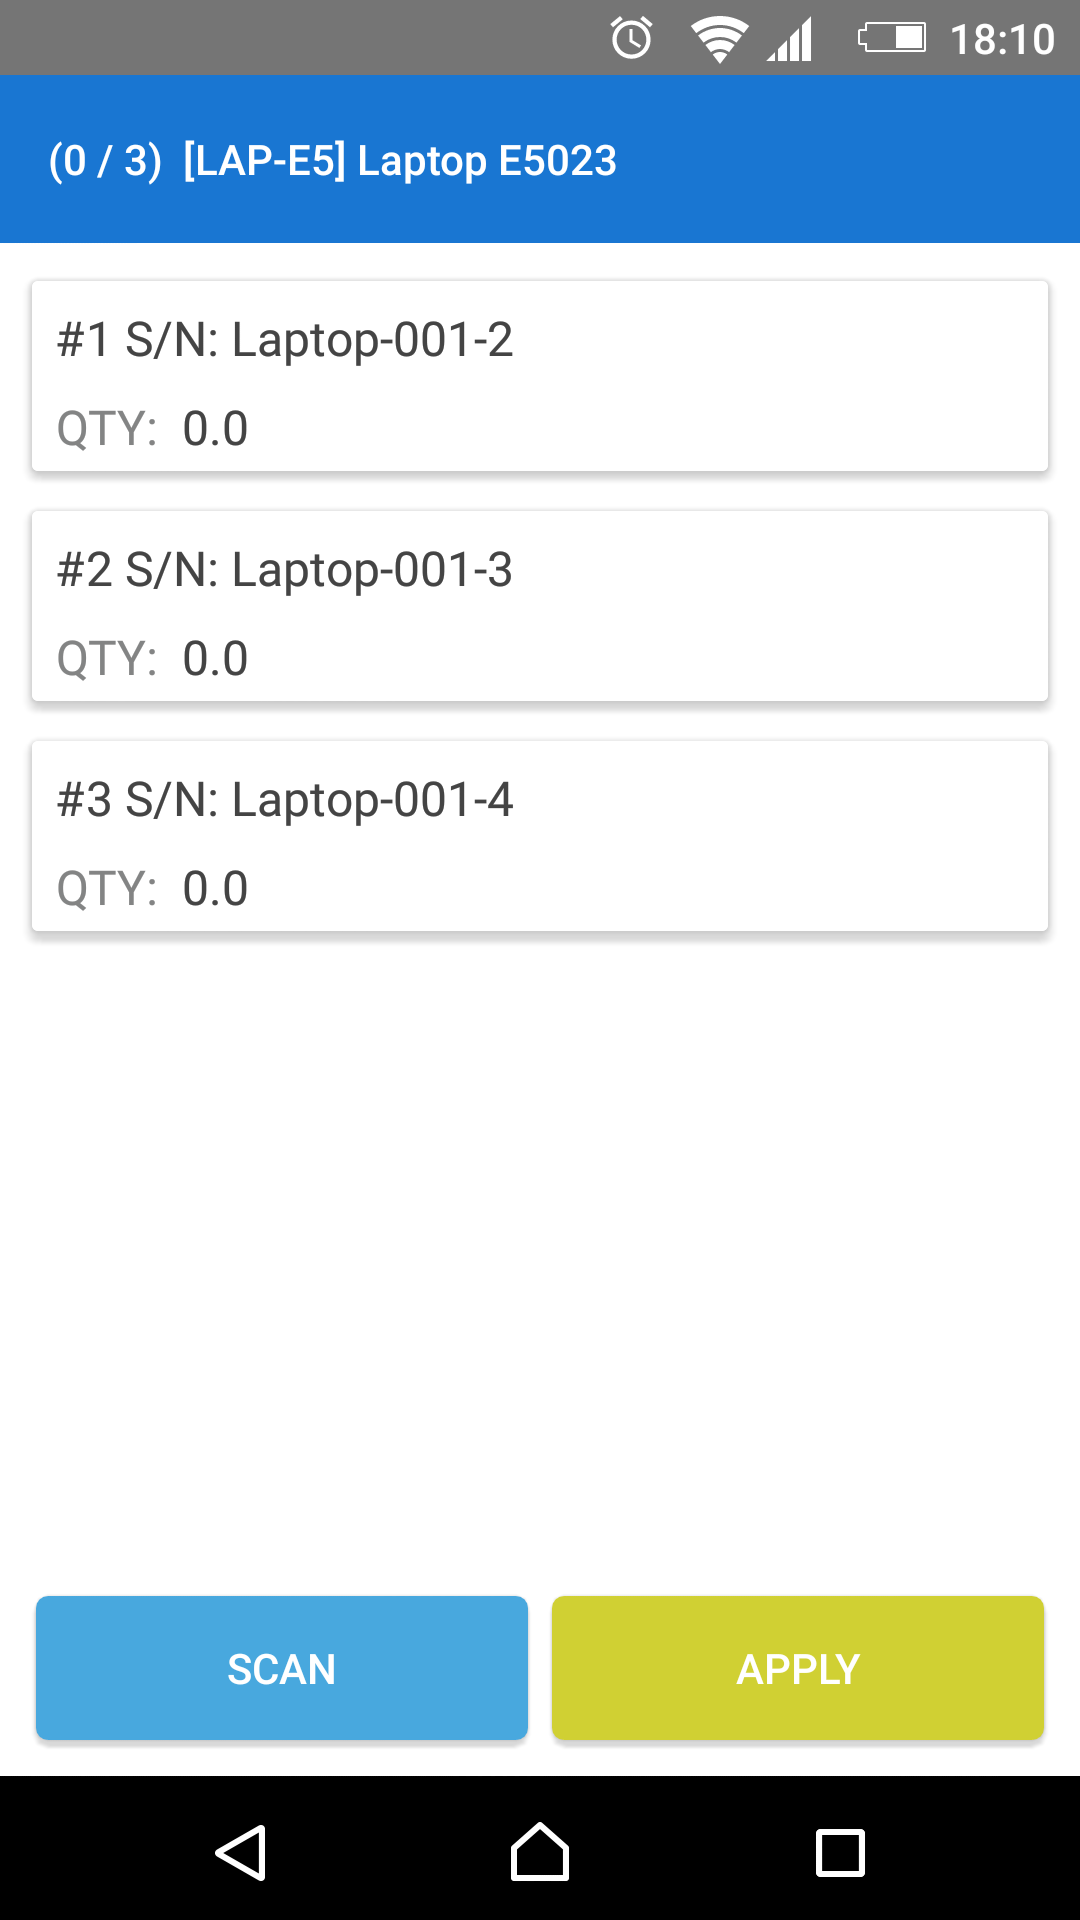
4. The user goes to additional menu and clicks on “Manage Serials/Lots” to get the list of S/Ns he needs to take
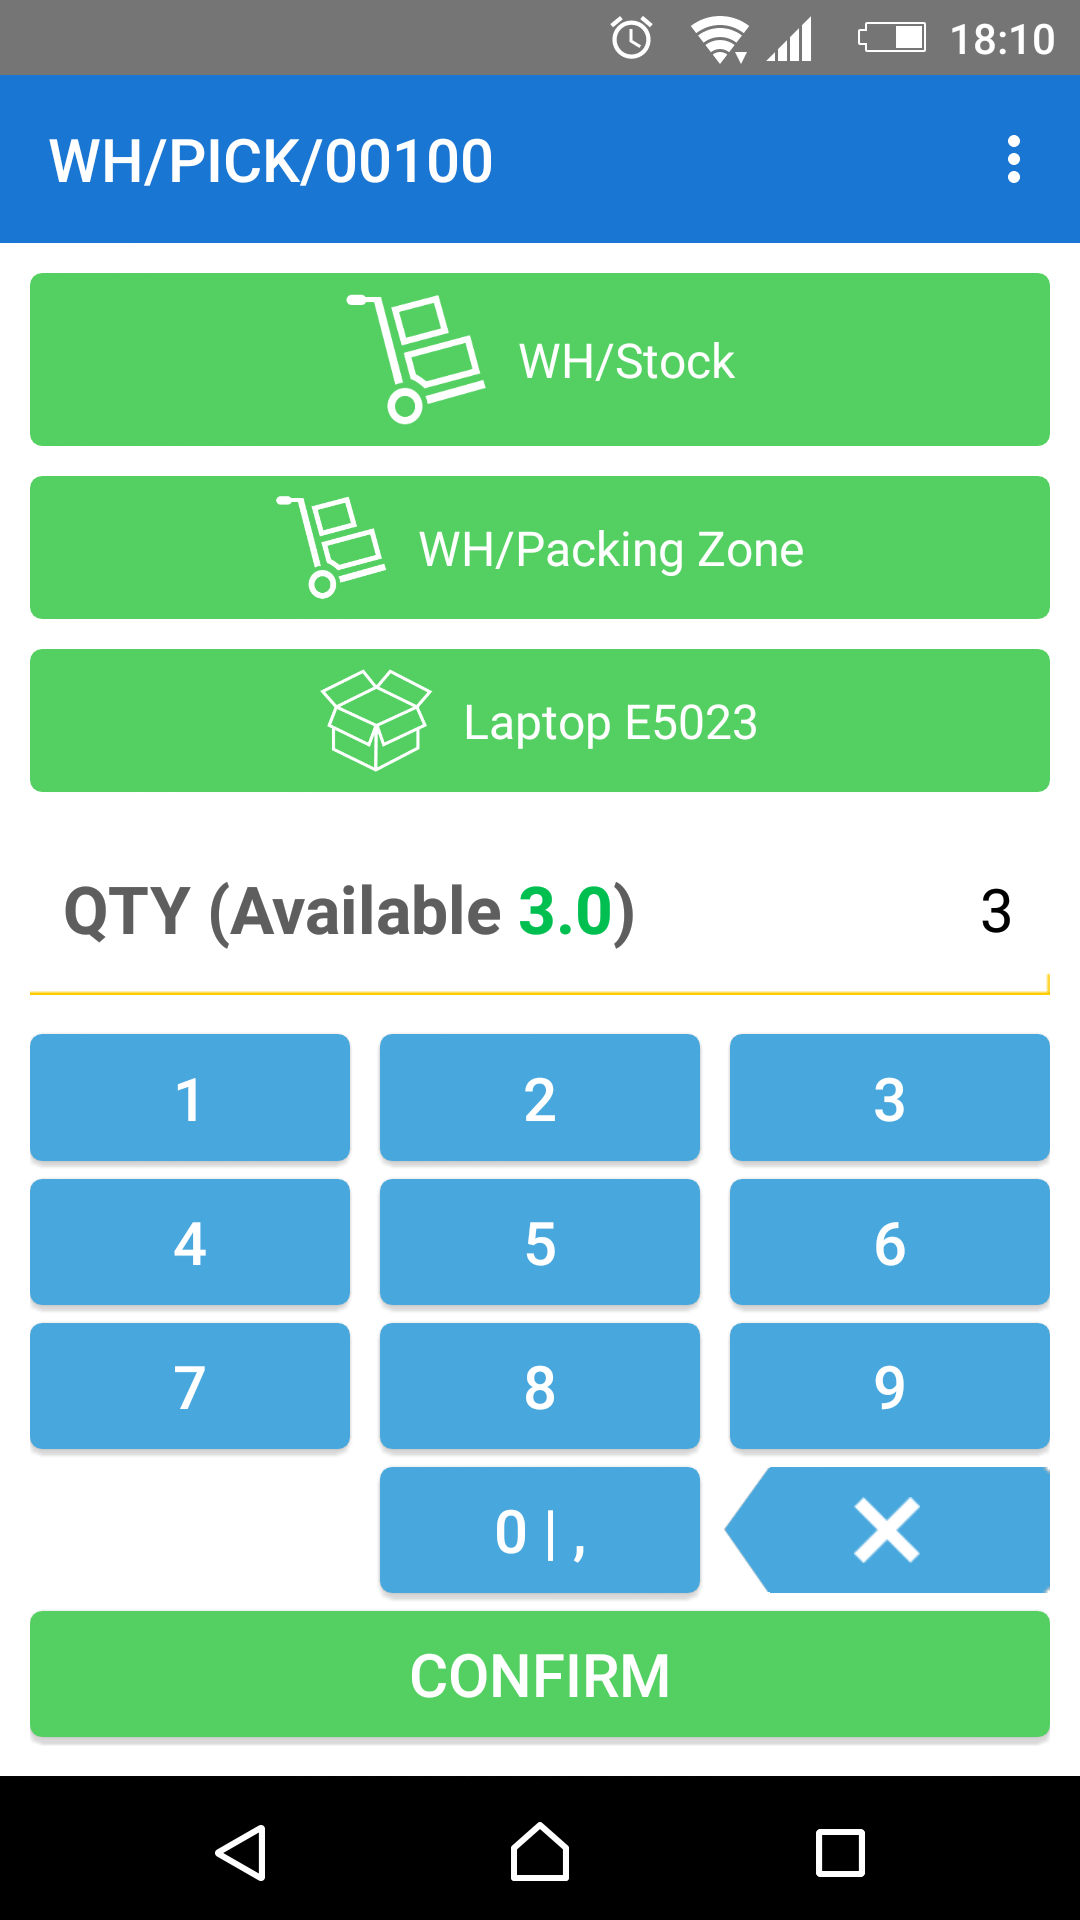
5. The user then scans the barcode / QR code of the S/Ns from the list, one by one. The card with the S/N becomes green. The user can use the “Scan” button or the laser if he uses mobile computers (list of available devices)
6. After S/Ns are scanned, the user clicks on “Apply”. The user can also move less items if some of them were missed. The app does not allow the same S/N to be confirmed twice
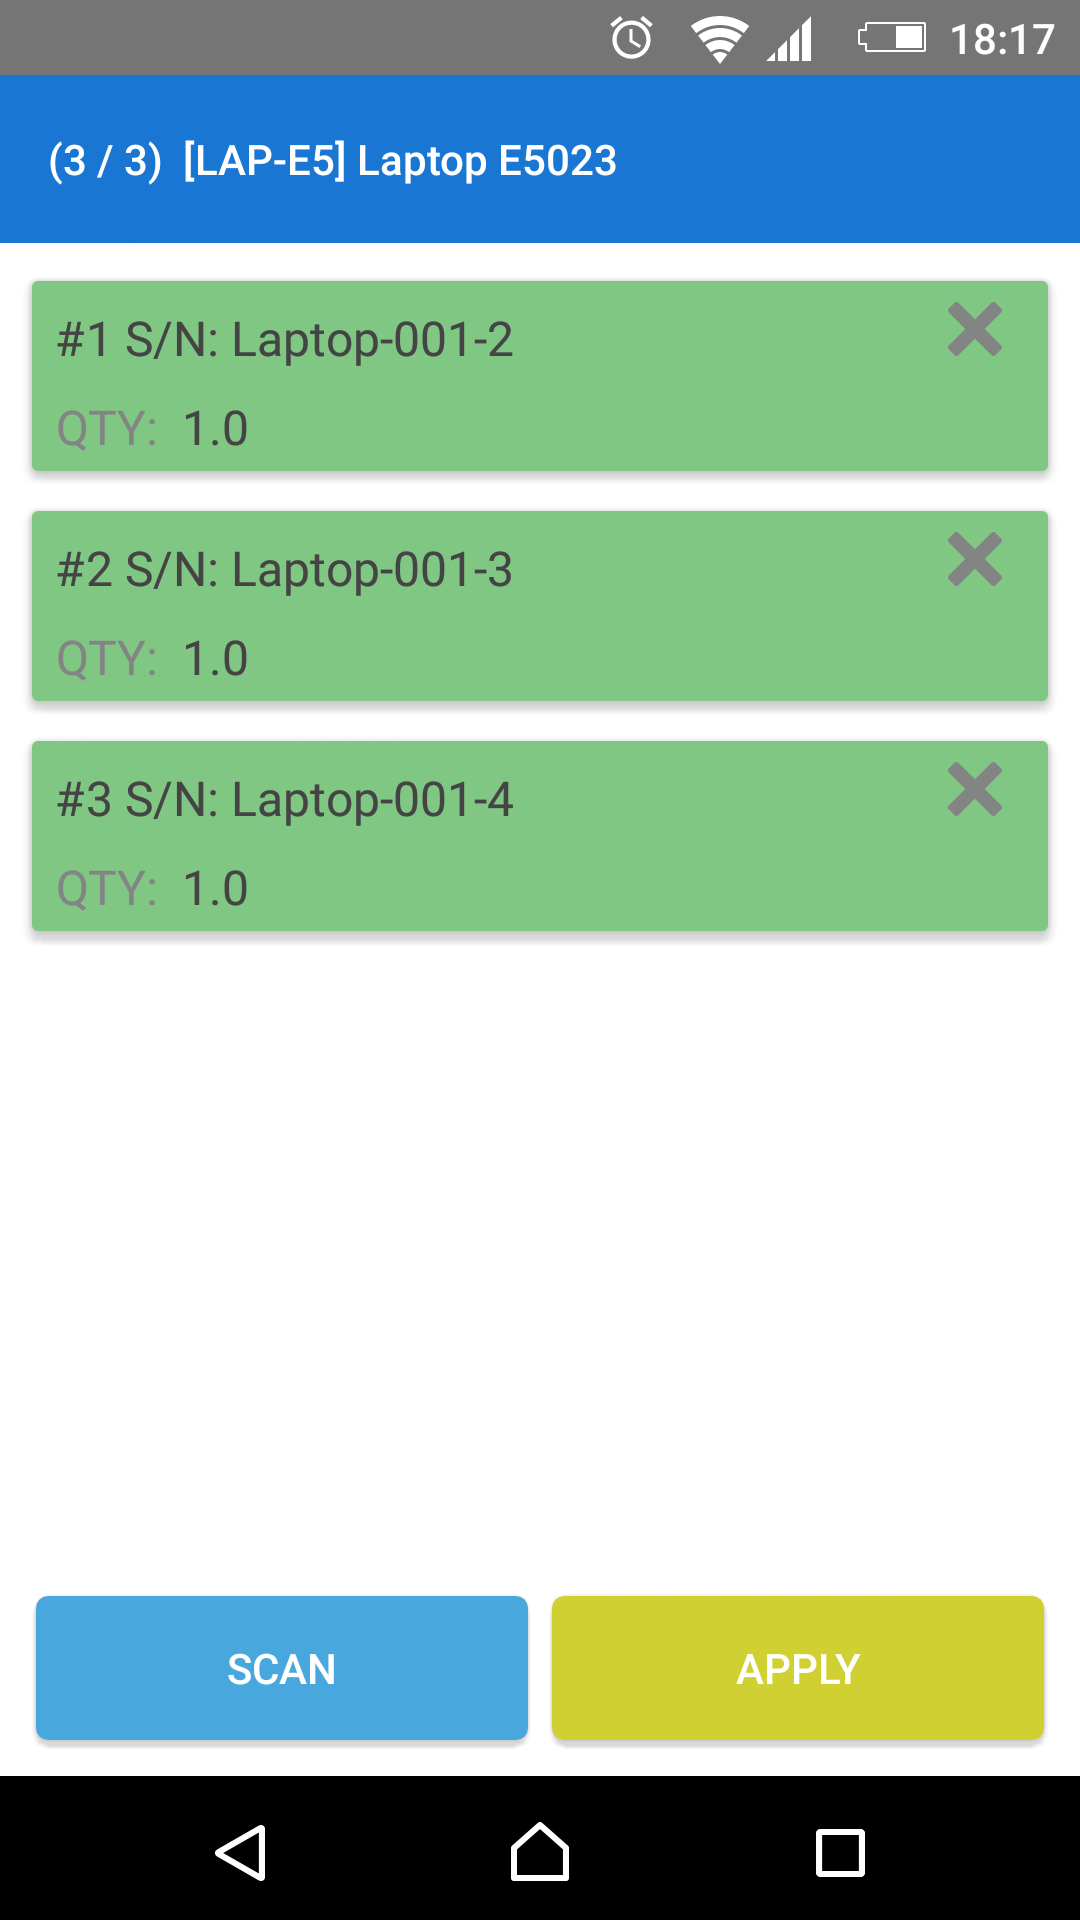
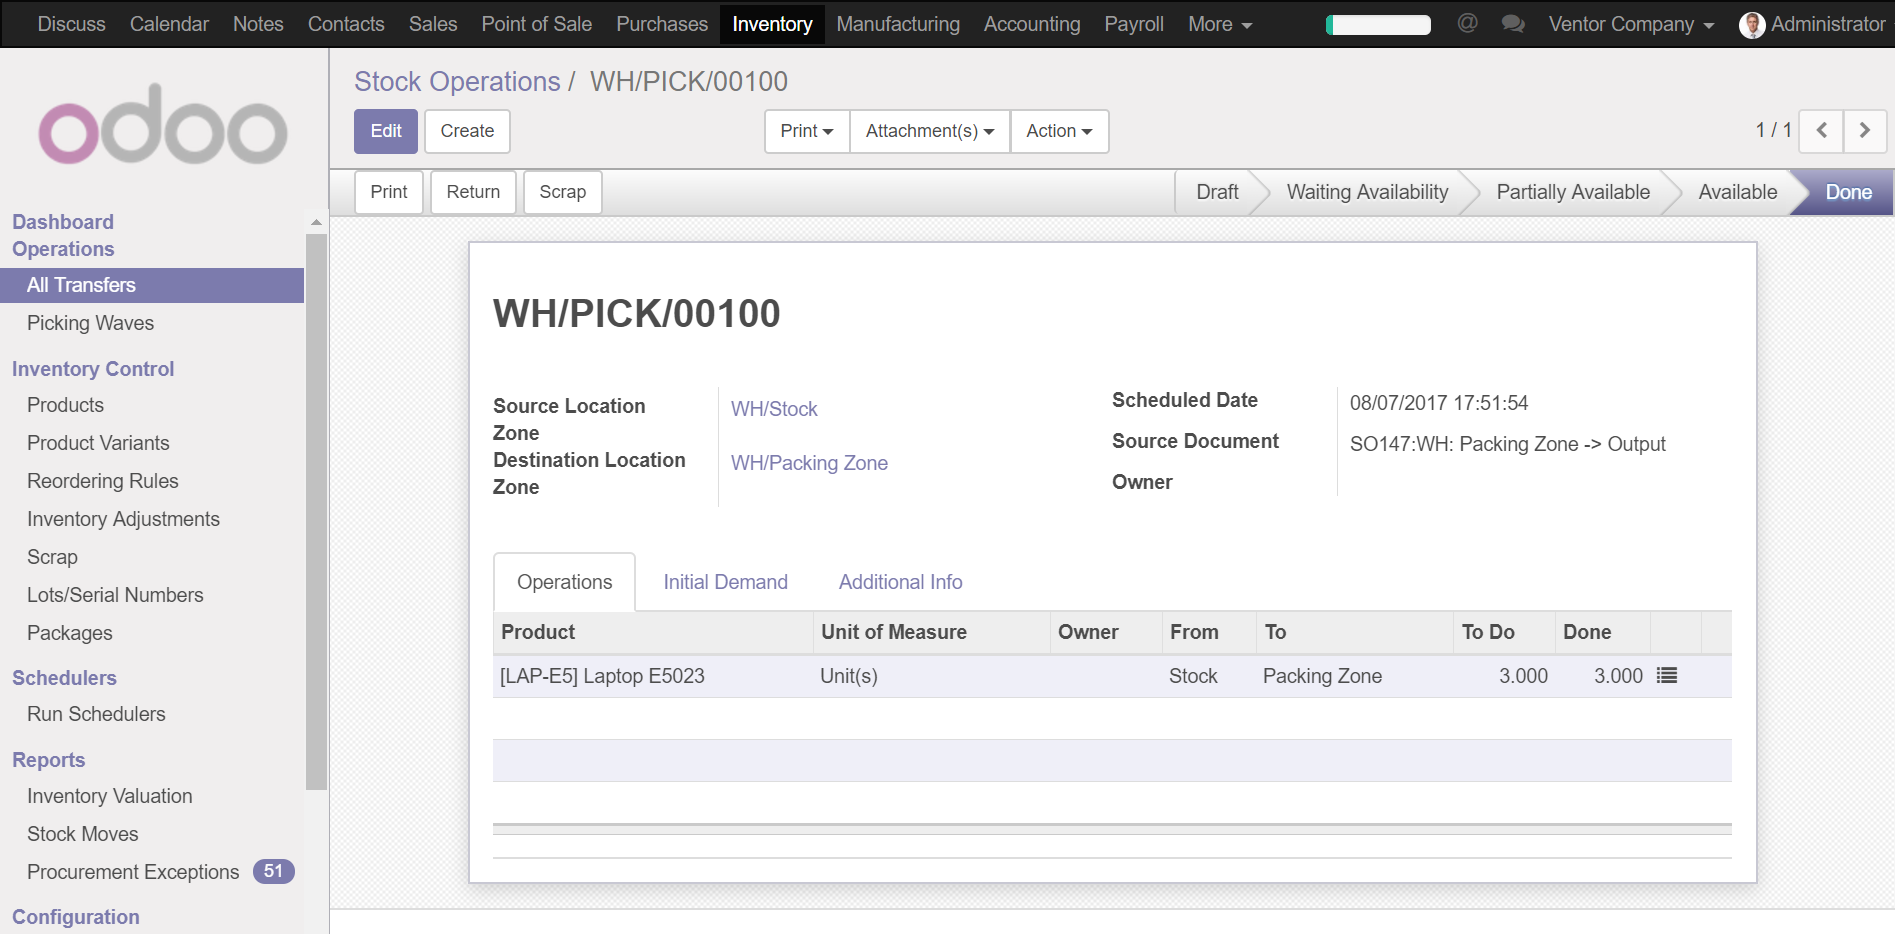
7. Next, the user clicks on “Confirm”, and all scanned items move to the customer location (or move to the next zones, such as packing or delivery) with their appropriate serial numbers.
8. The user is now ready to pick next item
Conclusions
Now you know how to use and manage serial numbers in Odoo ERP. Using the Ventor app (formerly mERP Warehouse) allows easily receive and deliver items with serial tags and have full traceability in your warehouse. If you still have questions about serial numbers management and Odoo, please feel free to contact us or leave your comments below.
Try Ventor For Free With Your Odoo Instance
Follow our twitter account to don’t miss updates
